

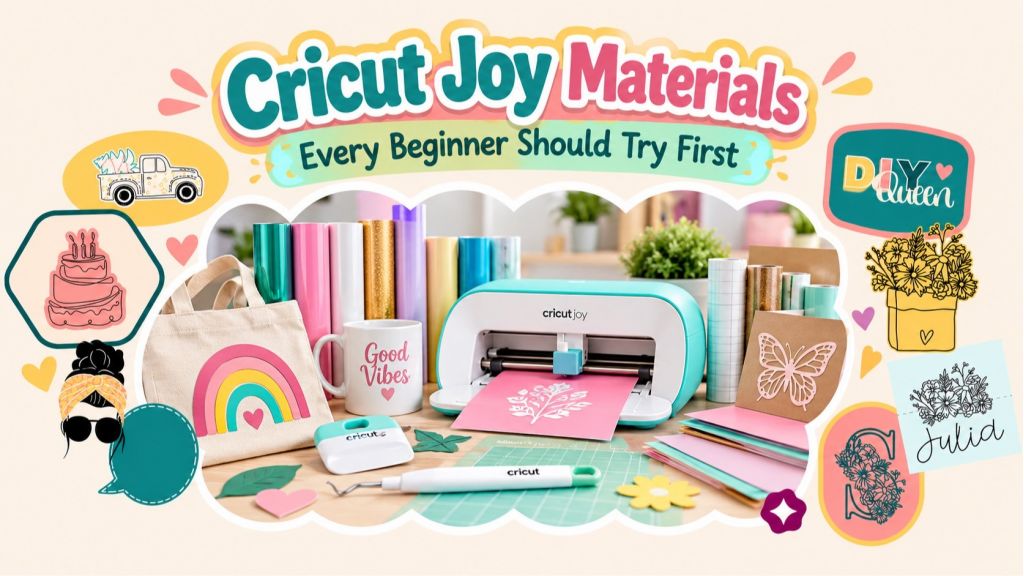
Buying your first Cricut Joy materials is easier when you start with a project, not a large bundle of supplies. A simple storage label, greeting card or personalised pouch will teach you more than a drawer full of unfamiliar materials. The best first purchases are forgiving, compatible with your machine and useful for things you actually want to make.
This guide focuses on the original Cricut Joy, rather than Cricut Joy Xtra. You will learn which materials to try first, when you need a cutting mat and which craft surfaces should stay outside the machine.
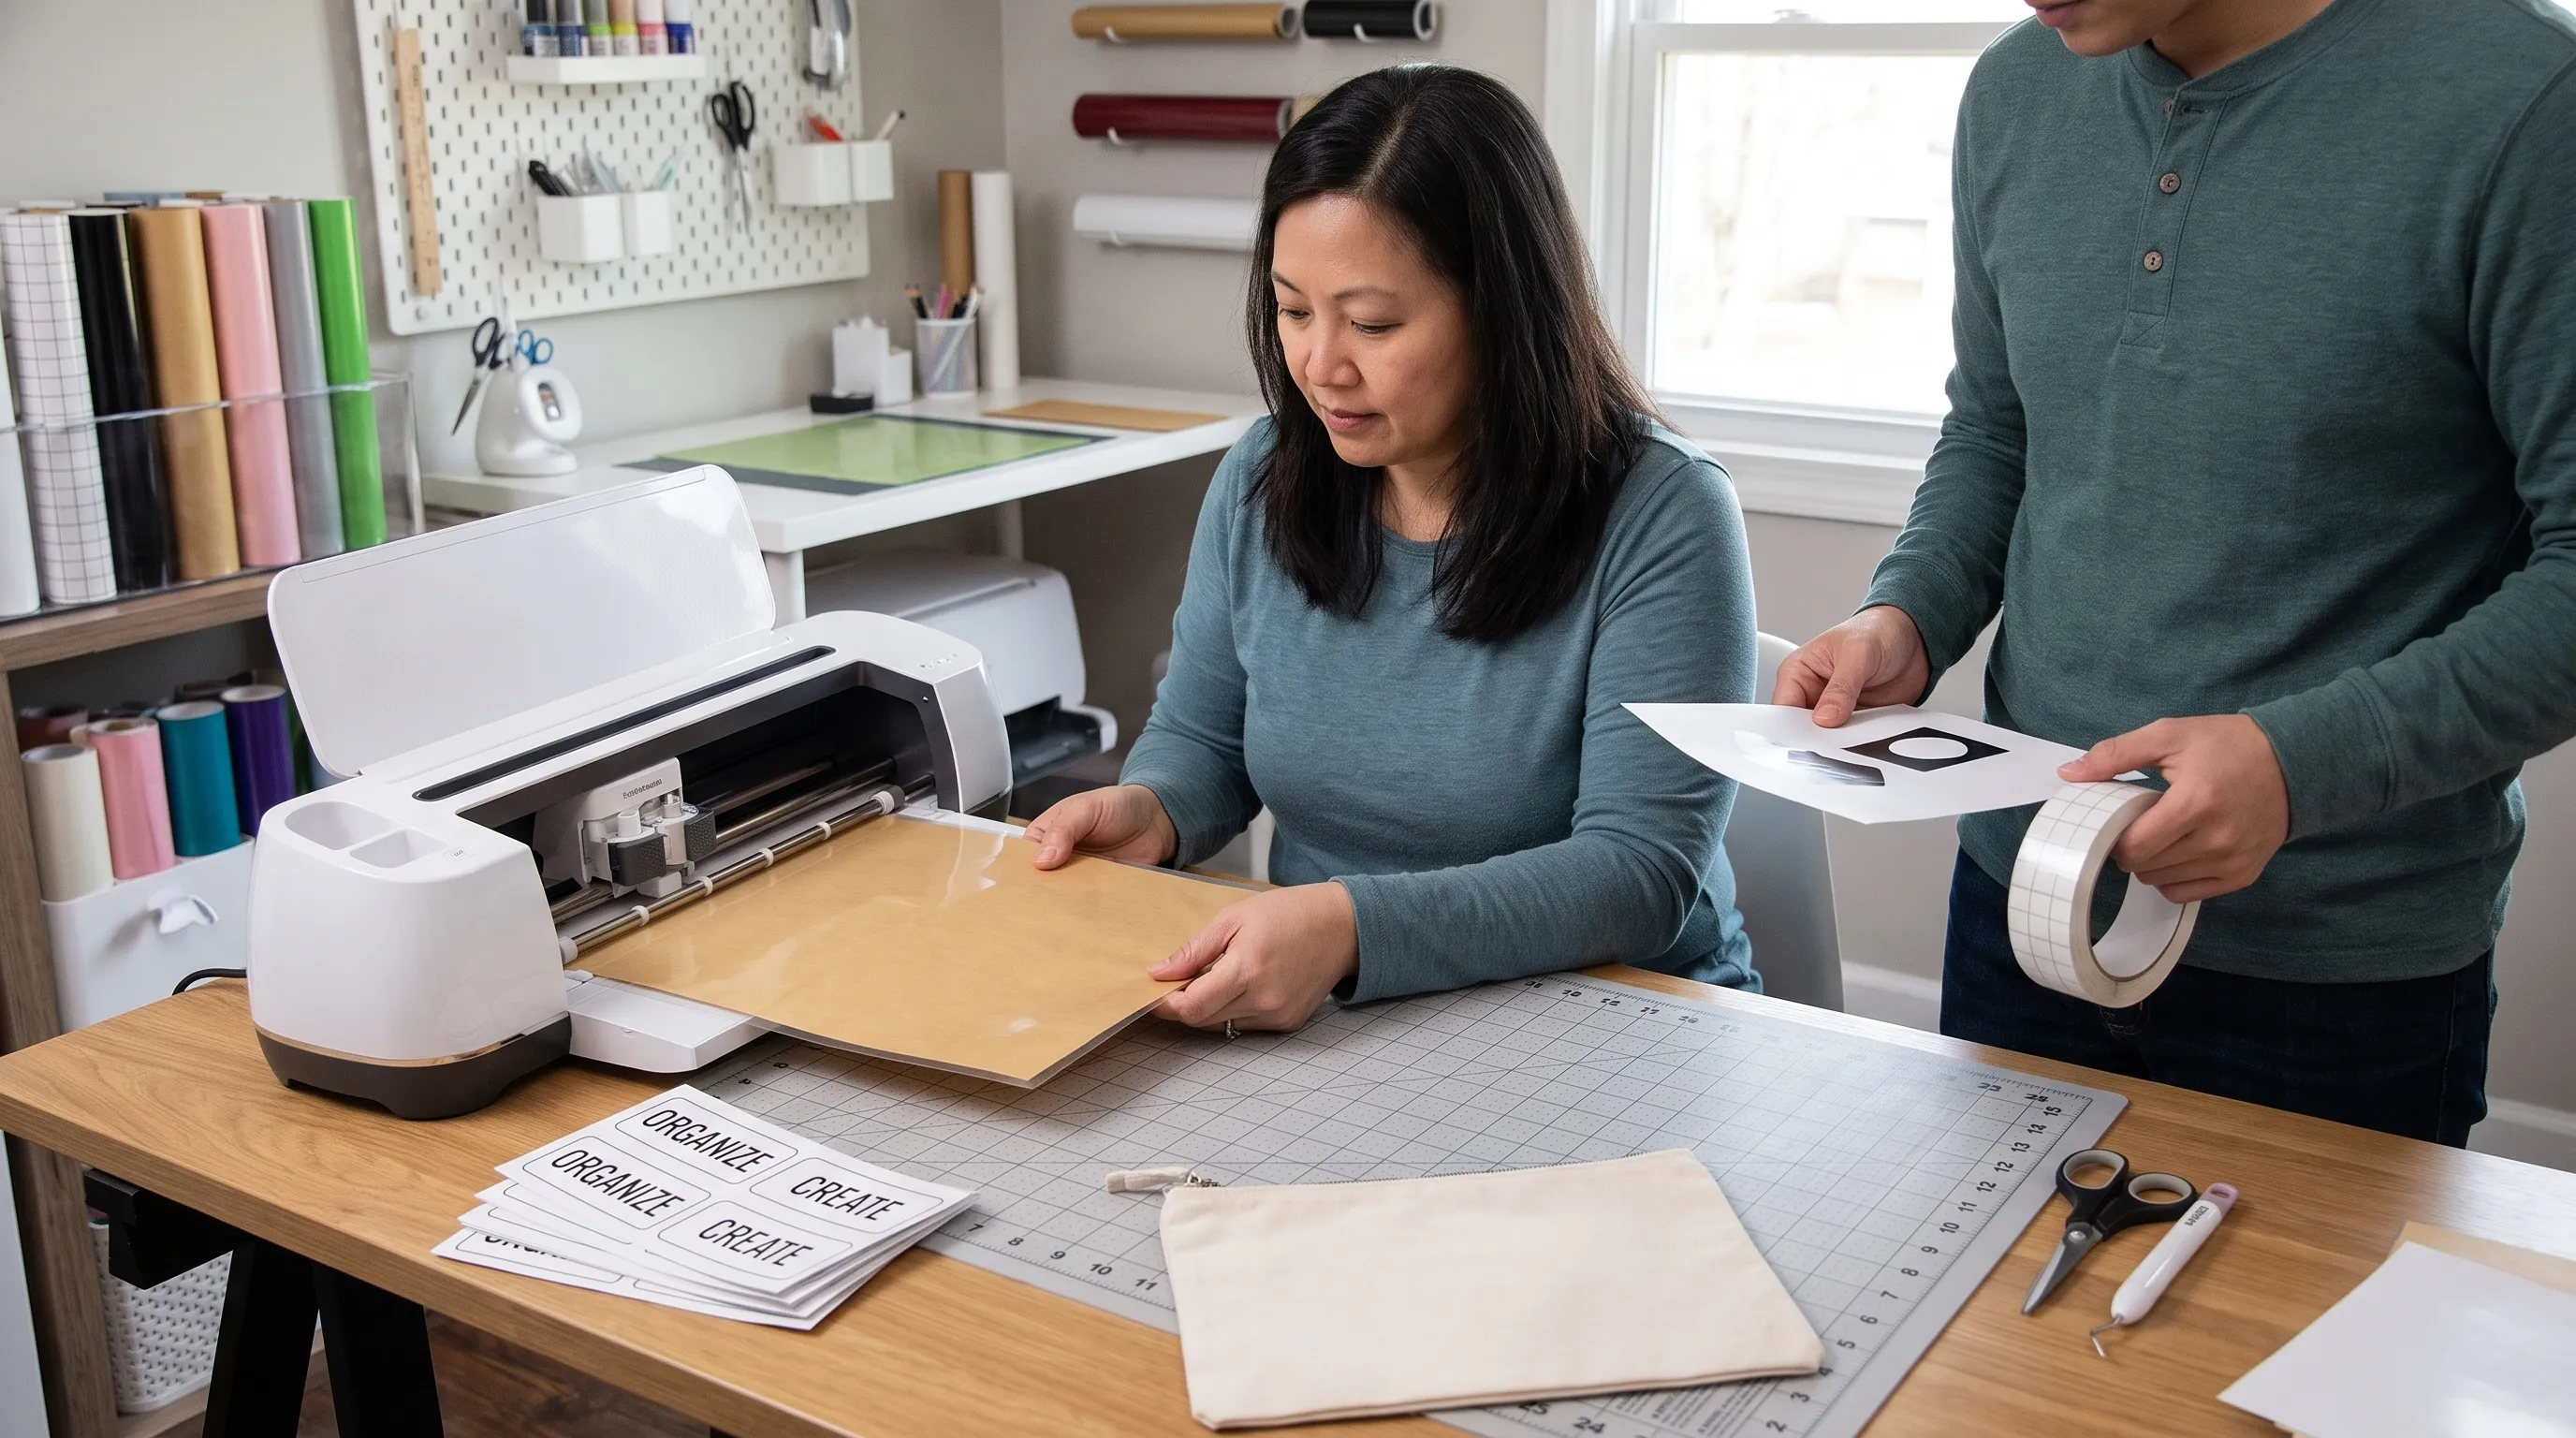 Check your machine before buying materials
The original Joy is a compact cutting and writing machine. Its maximum cutting width is approximately 4.5 inches (11.4 cm), so a material’s advertised sheet width is not necessarily the width of the design you can cut.
Original Joy Smart Materials are designed to feed through the machine without a mat. Ordinary compatible vinyl, iron-on and cardstock generally need a suitable Joy cutting mat. A standard-width roll does not become mat-free simply because you trim it narrower.
Before ordering, check three things:
- Machine compatibility: Look for an explicit reference to the original Cricut Joy, especially on Smart Materials, mats and accessories.
- Material type: Adhesive vinyl sticks to surfaces, while iron-on requires heat. They are not interchangeable.
- Supporting supplies: Depending on the project, you may need transfer tape, a cutting mat, compatible pens or a heat source.
For machine-specific loading and compatibility guidance, consult the Cricut Help Center. This is especially useful when a retailer’s listing says only "Cricut compatible” without naming a machine.
Which Cricut Joy materials should beginners try first?
Start with one or two materials rather than buying everything below. This comparison helps you match your first purchase to a realistic project.
| Material | Good first project | What to check before buying |
|---|---|---|
| Adhesive vinyl | A name label for a smooth storage box | Removable or permanent adhesive, mat requirements and transfer tape |
| Iron-on | A simple design on a suitable fabric pouch | Fabric compatibility, heat instructions and whether a mat is needed |
| Lightweight cardstock | Gift tags or simple paper shapes | Suitable weight, mat grip and project dimensions |
| Insert cards | A greeting card | Original Joy card-mat compatibility and supported card size |
| Writable label material | Pantry or craft-storage labels | Compatible pen, writable surface and loading method |
1. Adhesive vinyl: learn cutting, weeding and transferring
Adhesive vinyl is a practical starting point because it introduces three core skills: cutting a design, removing the unwanted pieces (called weeding) and transferring the finished design to an object.
Choose a smooth, flat surface for your first attempt. A clean storage box is easier than a curved bottle, textured wall or intricate glass ornament. Use a short word in a simple font and avoid tiny letters until you understand how the material behaves.
Removable vinyl suits temporary decorations, although removal can still affect delicate finishes. Permanent vinyl is intended for longer-lasting applications, but it is not a promise of dishwasher safety or suitability for every surface.
Among Cricut Joy materials, adhesive vinyl is particularly useful for learning how design size affects handling. Larger letters are easier to weed and position than narrow script lettering.
Ordinary adhesive vinyl requires an appropriate cutting mat. Original Joy-compatible Smart Vinyl can feed without one when the piece meets the manufacturer’s loading requirements. Transfer tape helps move separate letters together while preserving their spacing; check whether the vinyl needs standard or specialist transfer tape.
2. Iron-on: try a simple fabric project
Iron-on, also called heat-transfer vinyl or HTV, is useful for personalising suitable fabric items. A plain pouch with one bold initial is a more manageable first project than a layered T-shirt design.
Unlike adhesive vinyl, iron-on uses heat to bond the design to the fabric. Its carrier sheet usually holds the cut design together during application, so ordinary transfer tape is not needed.
Mirror the design before cutting, then load the material in the orientation specified by its manufacturer. For standard Cricut iron-on, the shiny carrier side faces down during cutting. Confirm the instructions for the exact product rather than applying this rule to every specialist material.
When choosing Cricut Joy materials for fabric, the blank matters as much as the film. Check the fabric composition and whether it tolerates the required heat.
Use the Cricut Heat Guide for supported combinations of Cricut material, fabric and heat equipment. Temperature, pressure, application time and peeling instructions vary. Follow the product’s care directions before washing the finished item.
3. Lightweight cardstock: make tags before complex paper projects
Cardstock is a useful way to learn how a cutting mat holds material in place. Begin with simple gift tags, circles or folded place cards rather than delicate paper lace.
Choose cardstock that the machine’s guidance supports and start with an appropriate LightGrip mat. Very fibrous, thick or heavily textured paper can be harder to cut cleanly. A stronger adhesive mat is not automatically better, since it can make thin paper difficult to remove without curling or tearing.
Use a small test shape before committing a whole sheet. When removing a finished cut, gently flex the mat away from the paper instead of pulling the paper sharply upward.
Your Cricut Joy materials shortlist should distinguish ordinary cardstock from Smart Paper Sticker Cardstock. The latter is an adhesive-backed product designed for a different workflow; it is not simply another name for loose paper. Check original Joy compatibility and follow its loading instructions.
4. Insert cards: complete a project with fewer supplies
Insert cards offer a straightforward route to a finished greeting card. The machine cuts a design into the card front, and a contrasting insert sits behind it.
You need a card mat compatible with the original Joy. Its divider protects the back of the folded card while the front is cut. Do not substitute a standard cutting mat without changing the project and method.
Choose a card pack and design supported by your particular mat. Similar-looking card packs can have different dimensions, and a design intended for a larger machine may not fit.
For a first attempt, use a simple ready-to-make design in Cricut Design Space and check that the selected machine and card size are correct. This lets you focus on loading and removing the card rather than designing a complicated pattern.
5. Writable labels: organise something you already own
Writable label materials combine drawing and cutting. They suit pantry labels, stationery drawers and craft-storage containers, provided the label surface and pen are compatible.
Not every vinyl surface accepts ink properly. Choose a material specifically intended for writing and pens that list original Joy compatibility. Ordinary household pens cannot be assumed to fit the machine or work on the label surface.
These Cricut Joy materials work best with short names and clear lettering. Use a writing font where available; a standard cut font set to draw may produce outlined letters rather than single-line handwriting.
Give the labels a real purpose. If you use a Creative Kidz Friendship Beaded Rings Kit, you could label your own containers for sorting beads. Supplies for a separate activity such as Makedo - Scru+ 120 can have their own labelled storage box, helping keep different projects organised.
Let the ink dry according to the material’s instructions before handling the finished labels.
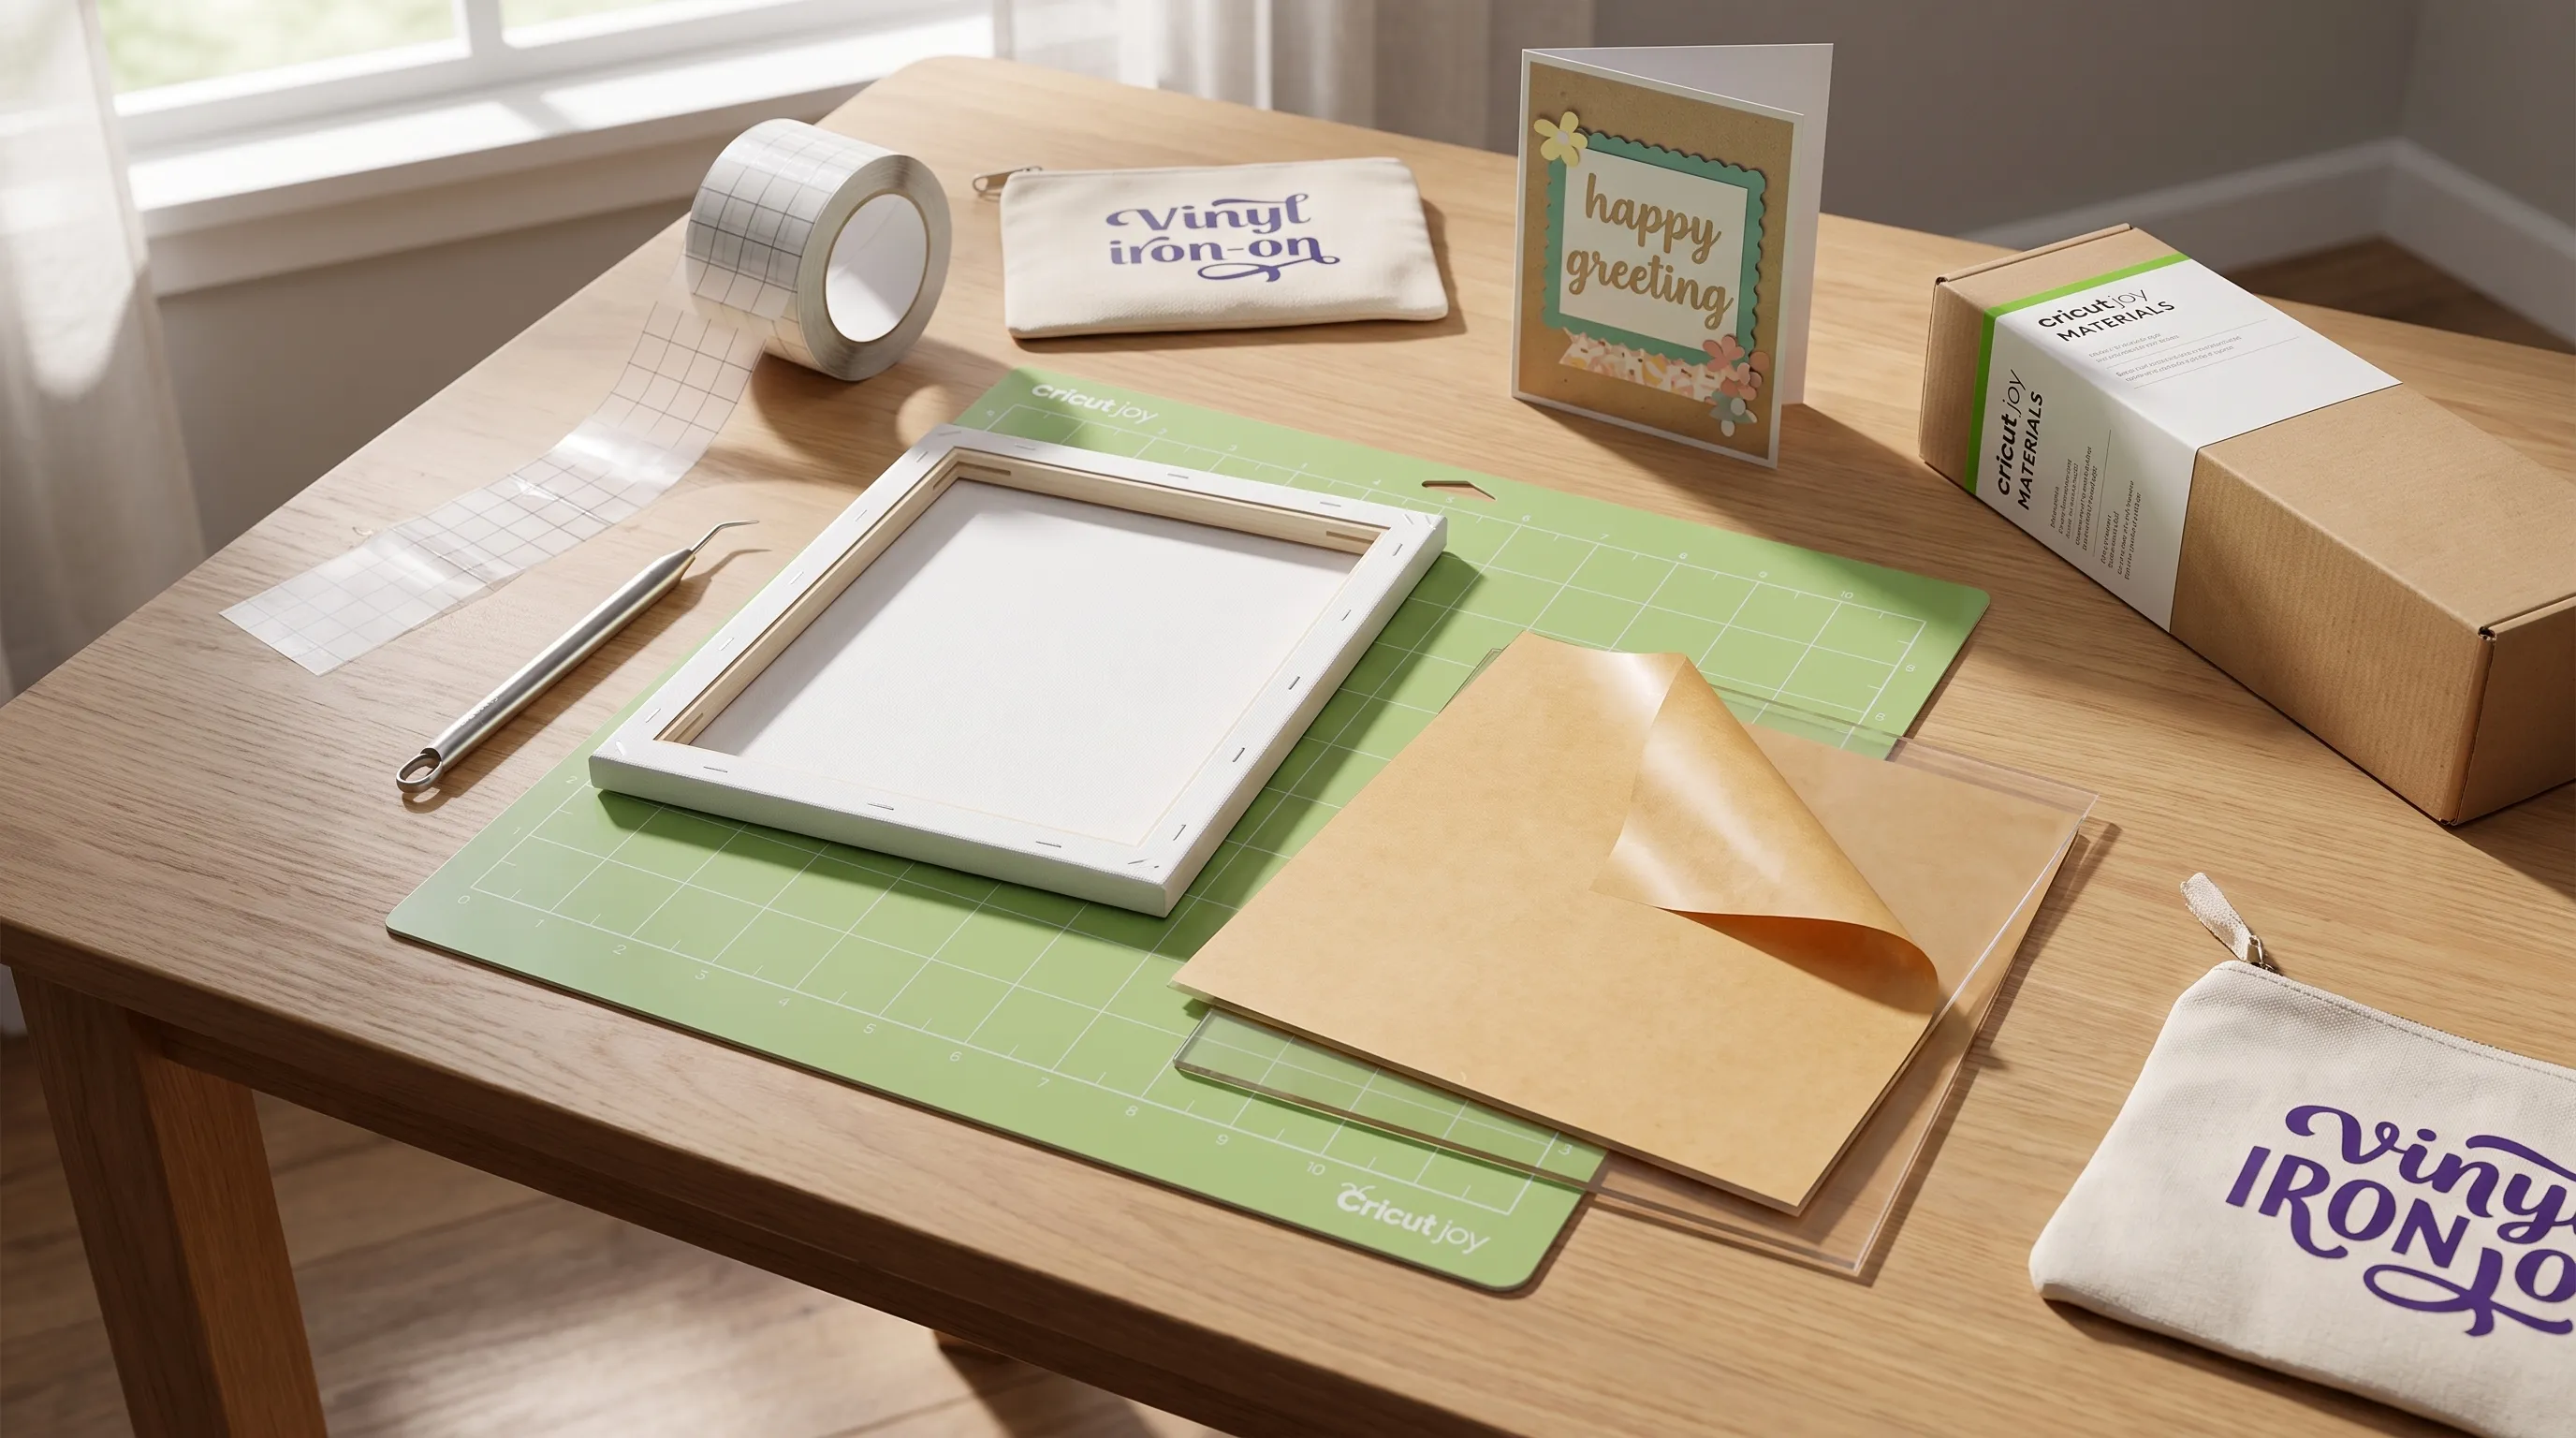
Use acrylic and canvas as project surfaces, not cutting materials
A material can belong in a Cricut project without going through the machine. This distinction prevents expensive mistakes, especially when shopping across a general craft catalogue.
Acrylic sheets: apply a cut decal to the surface
The Acrylic Sheet 60 X 30 Cms 2 pcs - Clear can serve as a surface for a vinyl lettering project, such as a decorative sign. The original Joy cuts the compatible vinyl decal, not the acrylic sheet.
Do not attempt to feed acrylic into the machine or use it for engraving. If the sheet needs resizing, that is a separate task requiring suitable equipment or a cutting service.
Choose Cricut Joy materials for the decal based on the intended use and surface compatibility. Clean and dry the acrylic using the sheet supplier’s guidance, position the decal carefully and avoid harsh cleaners unless approved for that acrylic.
Canvas: use a stencil workflow with a test first
The Premium Quality 380GSM Canvas for Artistic Creations is an art surface, not a recommended cutting material for the original Joy.
A possible project is to cut a compatible vinyl stencil separately, then use it to guide painted lettering on the canvas. Textured canvas may not hold stencil edges firmly, which can allow paint to bleed underneath. Test the stencil adhesive and suitable paint on a small area first, using light applications rather than saturating the edge.
Build a small starter basket, not a large collection
A useful first basket supports one complete project. For a vinyl storage label, that might mean one roll or sheet of compatible vinyl, transfer tape, a weeding tool and a mat if the vinyl requires one. You do not need iron-on equipment to complete that project.
For cardmaking, prioritise a compatible card mat and suitable card pack. For fabric personalisation, check the heat equipment and fabric blank before adding more colours of iron-on.
When comparing Cricut Joy materials online, calculate the cost of a usable project rather than judging only the pack price. A cheaper oversized sheet may need trimming and a mat, while a mat-free product may simplify loading but still require other accessories.
Read the current listing for dimensions, quantity and compatibility. Also check delivery charges and return conditions before ordering in the UAE. Do not assume an opened or partly used craft consumable can be returned.
Keep specialist glitter, foil-effect, flocked and highly textured materials for later. They can introduce extra handling requirements before you have learned the basic workflow.
Fix common beginner problems before changing materials
A failed cut does not always mean you bought the wrong product. Check the selected material setting, loading method and design detail before replacing your supplies.
| Problem | What to check first |
|---|---|
| Material shifts during cutting | Mat adhesion, correct loading and whether mat-free use is supported |
| Tiny letters tear while weeding | Letter size, thin strokes and excessive design detail |
| Paper curls during removal | Mat grip and removal technique |
| Vinyl lifts with the transfer tape | Surface preparation, burnishing and tape suitability |
| Iron-on lifts after application | Required heat, pressure, peeling method and fabric compatibility |
Testing Cricut Joy materials with a small, simple shape helps isolate the problem. Change one factor at a time, such as the setting or design size, so you can tell what improved the result.
For adhesive projects, allow any required bonding time before heavy handling. For heat-transfer projects, follow the manufacturer’s instructions instead of repeatedly adding heat without checking the cause.
Frequently asked questions
Can the original Cricut Joy use non-Cricut materials? Some third-party vinyl, iron-on and paper can work when they meet the machine’s requirements and are used with an appropriate mat. Check dimensions, material suitability and cutting instructions. Third-party branding alone does not confirm compatibility.
Do all materials need a cutting mat? No. Original Joy-compatible Smart Materials can be used without a mat when they meet the loading requirements. Ordinary compatible sheets and scraps generally need a suitable mat, while folded insert cards need the appropriate card mat.
Can the original Cricut Joy cut acrylic or thick canvas? No. Treat acrylic sheets and the 380GSM canvas discussed here as project surfaces. The Joy can make a compatible vinyl decal or stencil to use separately, but these surfaces should not be fed into it.
Which Cricut Joy materials are easiest for a complete beginner? Adhesive vinyl with a large, simple design is a practical starting point. Insert cards are another accessible choice if you have the correct card mat. Pick the option that matches something you want to make.
Does the original Joy support Print Then Cut? No. The original Cricut Joy does not support Print Then Cut. Do not buy printable sticker supplies expecting that automated workflow on this machine.
Choose your first project before you shop
Start with one label, one card or one suitable fabric design. Explore craft supplies and project surfaces on Sandhai, then confirm the individual listing’s dimensions, compatibility and delivery details before ordering. A small, correctly matched basket is more useful than a large bundle you cannot use.

Comments