

Starting acrylic painting on canvas is easier when your first project is small and your materials are simple. You do not need dozens of colours or a large easel. A prepared canvas, a few brushes and a limited palette are enough to practise mixing, layering and creating a finished picture.
This guide walks you through a simple coastal landscape with sky, sea and sand. You will learn how to prepare the surface, build the painting in manageable stages and protect it once dry. There is also practical advice for working in UAE homes, where air conditioning, heat and humidity can affect drying.
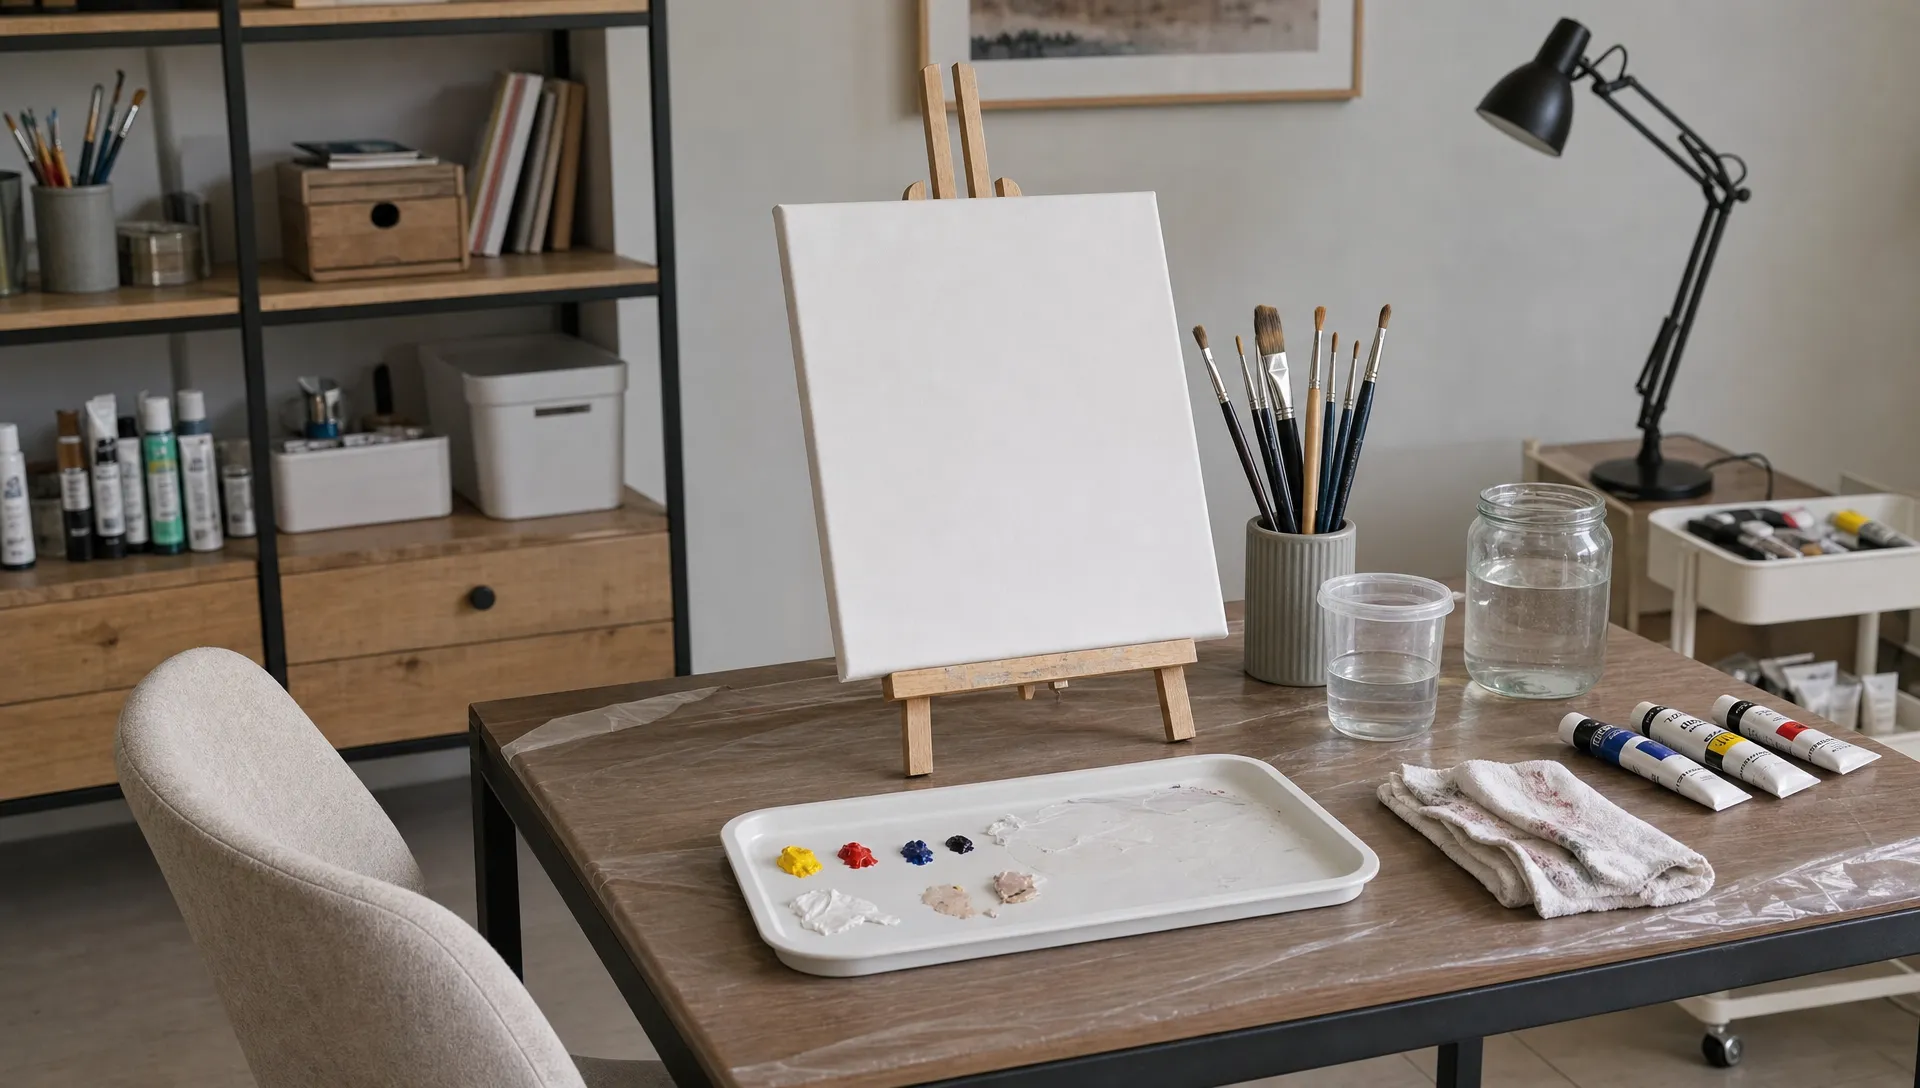 Choose your supplies for acrylic painting on canvas
Artist acrylics are water-based paints that form a water-resistant film as they dry. You can clean wet paint from brushes with soap and water, but dried paint is much harder to remove. Their relatively quick drying makes layering convenient, although it gives you less time for blending than oils.
Start with the following supplies rather than buying every accessory at once.
| Supply | A practical beginner choice | Purpose |
|---|---|---|
| Canvas | Small, acrylic-primed stretched canvas | Provides a ready painting surface |
| Paint | White, blue, red, yellow and burnt umber | Covers a useful range of mixtures |
| Brushes | Medium flat, medium round and small round | Handles backgrounds, shapes and details |
| Palette | Reusable mixing tray or palette paper | Keeps mixtures separate |
| Water containers | Two stable containers | Separates initial rinsing from cleaner water |
| Other basics | Cloth, pencil and table covering | Helps with planning and cleanup |
For acrylic painting on canvas, choose paint labelled as acrylic rather than assuming any water-based craft colour will perform the same way. Compare the container size with your project, too. A small canvas uses much less paint than a large background.
A blue such as Funbo Acrylic Paint 100ml Blue can supply your sky and sea mixtures. A separate red, such as Funbo Acrylic Paint 200ml Red, adds options for warm clouds and colour-mixing practice. Check each colour's opacity rather than expecting every pigment to cover equally.
Pick a manageable canvas size
A canvas around 20 × 30 cm is a useful starting point: it fits on a table and lets you finish a simple composition without mixing large quantities of paint. The Maxi Canvas 20 × 30 cm is one size option to consider. Check the product details or packaging to confirm whether any canvas you buy is already primed.
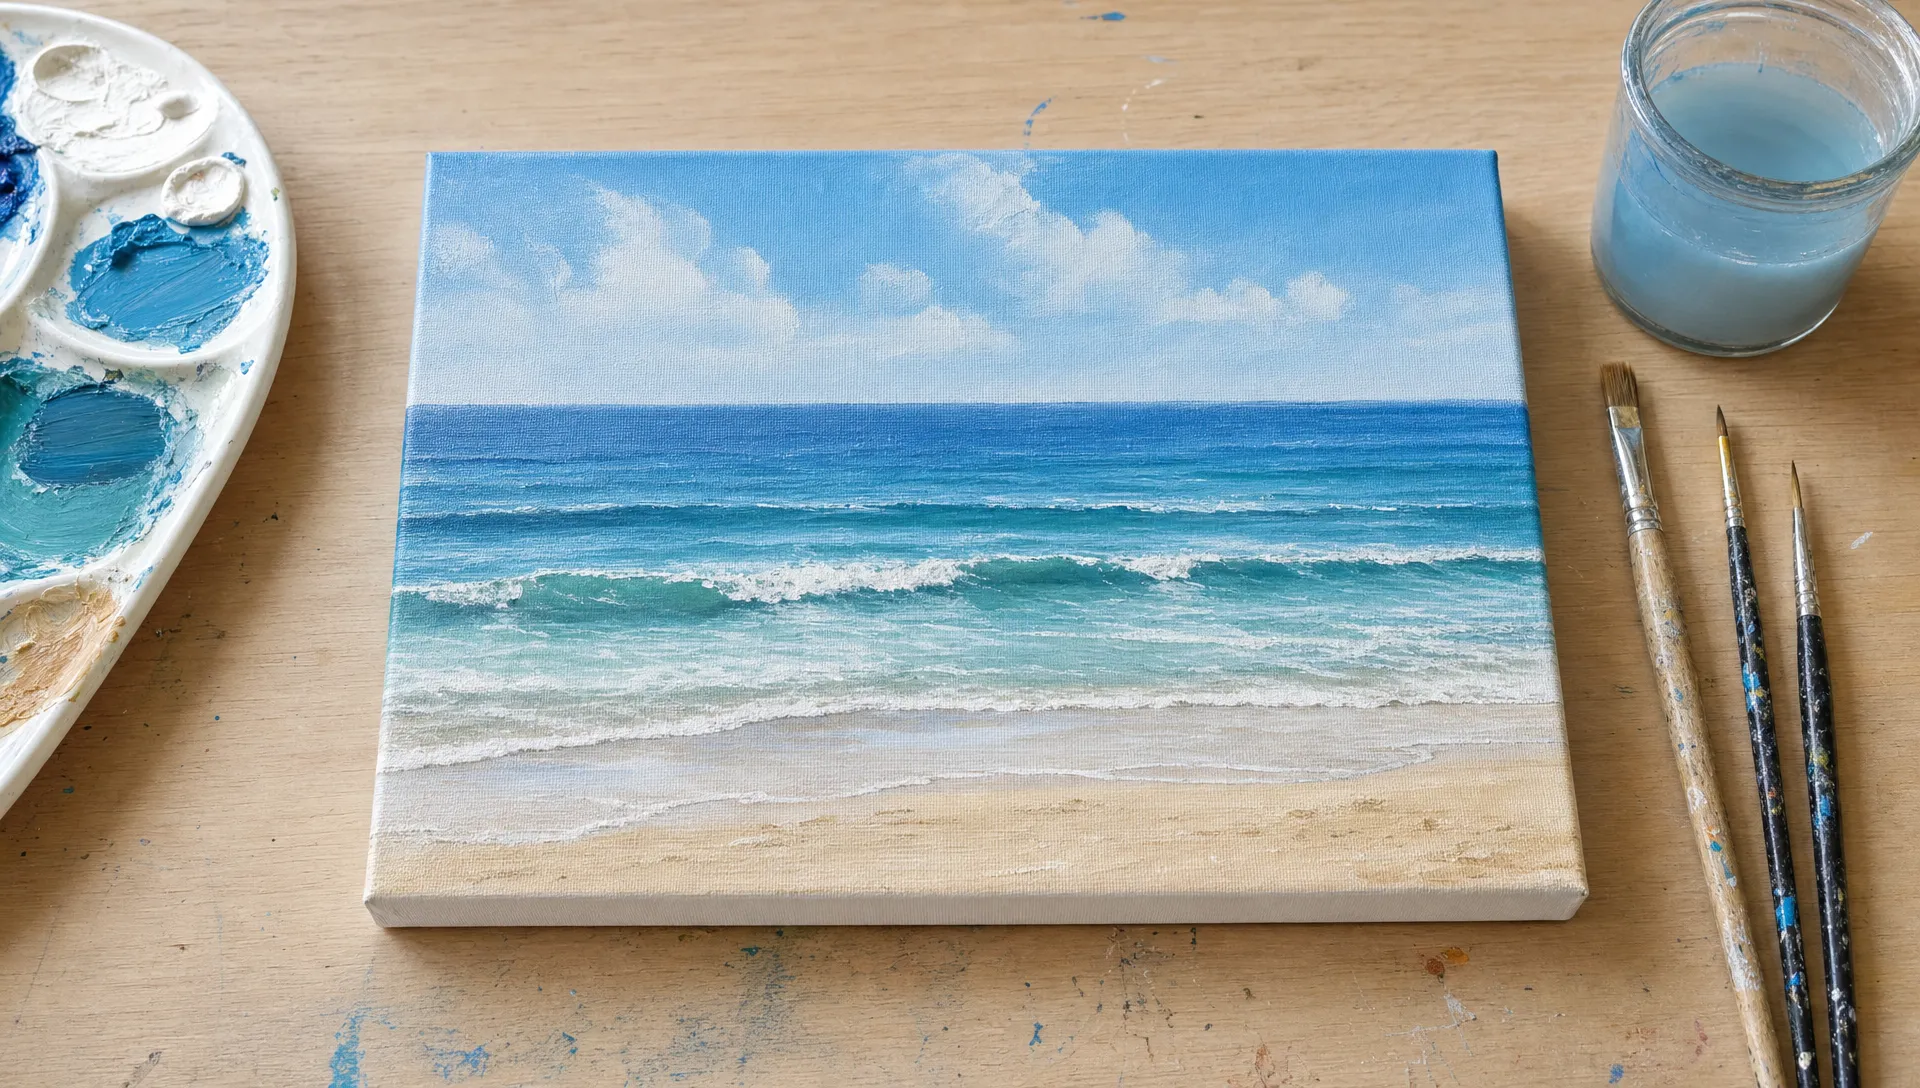
Choose a landscape orientation for this exercise. Keep the composition to three main areas: sky, sea and beach. Avoid adding buildings, people or detailed waves until you are comfortable controlling paint and brush pressure.
Prepare the canvas and your workspace
You can paint directly onto canvas that is already primed for acrylics. Raw fabric needs preparation because it absorbs paint unevenly and allows colour to sink into the weave.
If your canvas is unprimed, apply acrylic gesso according to its instructions. Two thin coats, with the recommended drying interval between them, are a common starting approach. Gesso prepares the surface; ordinary white acrylic paint is not an equivalent substitute.
Good preparation makes acrylic painting on canvas more predictable, especially when you want smooth colour rather than a patchy first layer. On a ready-primed canvas, remove loose dust and check for damage before starting. An extra gesso coat is optional if you want to adjust the surface texture.
Cover your table, position the canvas securely and arrange your palette within easy reach. Work in comfortable, indirect light so you can judge colour without glare. Keep drinks away from rinse water and use painting containers that will not return to food preparation.
Paint a simple coastal landscape in seven steps
Follow these steps in order, but allow each layer to dry when necessary. Finishing everything in one sitting is less important than avoiding rushed, muddy brushwork.
1. Sketch the main shapes lightly
Draw a horizon approximately one-third down from the top of the canvas. This leaves a smaller sky area and more room for sea and beach. Add a gently curved shoreline in the lower half.
Use light pencil pressure. Heavy graphite lines can show through pale paint or mix into your first strokes. You only need guides for the main divisions, not a detailed drawing of every wave.
Before painting, look at the composition from a short distance. Make sure the shoreline leads into the picture rather than dividing it into several unrelated strips. Keep one area, such as a bright stretch of water, as the main point of interest.
2. Mix a few useful colours
Place small amounts of paint around the edge of your palette, leaving room in the centre for mixing. Make a pale blue for the sky, a stronger blue for the sea and a sandy mixture using white, yellow and a little burnt umber.
For acrylic painting on canvas, mixing your main colours before starting a broad area helps you avoid running out halfway across it. Add darker colours to white gradually because a small amount can change the mixture considerably.
Test each mixture on spare primed material or suitable scrap paper. Acrylics can shift in appearance as they dry, so let a test stroke dry before judging it. Keep a little of each original colour available for adjustments.
3. Block in the sky, sea and beach
Use your medium flat brush to fill the three main areas. Apply an even, relatively thin layer rather than trying to hide every trace of canvas immediately.
Paint the sky first, then the sea and beach. For a simple sky, make the blue slightly deeper at the top and lighter near the horizon. Clean the brush before moving from blue into sand colours so they do not become unintentionally green or grey.
A little surface texture showing through is normal at this stage. If the brush drags, slightly dampen it or use a suitable acrylic medium according to its instructions. Do not solve every coverage problem by adding more water.
4. Build coverage with a second layer
Let the first layer become dry to the touch before adding another. If paint lifts, smears or forms little rolls under the brush, stop and give it more time.
The second coat should strengthen your large shapes and correct uneven areas. Use broad strokes for open water and shorter strokes where the beach curves into the sea. Keep the distant horizon cleaner and more controlled than the foreground shoreline.
Layering is one of the most useful skills in acrylic painting on canvas because you can correct shapes without repeatedly disturbing wet paint. If a colour is naturally transparent, another thin coat may still not make it fully opaque. Adjust the mixture or choose a more opaque colour when coverage matters.
5. Blend selectively while paint is wet
Blend the sky by placing neighbouring shades next to each other and gently brushing across their join while both remain wet. Use light pressure and stop once the transition looks smooth enough.
If one area has already started drying, do not keep scrubbing it. Let it dry and repaint the transition with fresh colour. Trying to blend partially dried acrylic often creates rough patches instead of a soft gradient.
You do not need smooth blending everywhere. Keep some visible brushwork in the sea and beach, where texture suits the subject. A stay-wet palette can help preserve workable mixtures, but it will not restore paint that has already formed a dry film.
6. Add waves, shadows and highlights
Use the edge of a flat brush or a small round brush for a few horizontal wave marks. Make distant marks smaller and closer together, with larger, more separated shapes near the foreground.
Add a slightly darker strip where wet sand meets the water. Then place a few pale highlights along selected wave edges. Avoid outlining every wave in white because repeated bright lines can flatten the scene.
At this stage of acrylic painting on canvas, details should support the larger shapes rather than cover them. Reserve your brightest highlights for the main point of interest and leave quieter areas with less contrast. This helps the viewer understand where to look first.
7. Step back and make limited corrections
Move away from the canvas and check whether the sky, water and sand are clearly separated. Look for accidental dark spots, a sloping horizon or highlights that compete for attention.
Choose two or three useful corrections instead of repainting everything. Let a mistaken area dry before covering it with a suitable opaque mixture. If necessary, rebuild the local background first, then replace the detail.
Sign the painting when you are satisfied and clean your brushes promptly. Finishing a small study teaches you more than continually adjusting the same section without reviewing the whole picture.
Manage drying in UAE conditions
There is no single drying time that suits every painting. Paint thickness, formulation, airflow, temperature and humidity all influence how quickly acrylic loses water.
In an air-conditioned room, a direct vent or fan can dry exposed paint quickly and shorten blending time. Higher humidity can slow water loss. Avoid placing the canvas in direct sun or using a hairdryer to rush the process, especially when thicker layers are involved.
For acrylic painting on canvas, distinguish dry to the touch from ready for varnishing. The surface may feel dry while deeper paint still contains moisture. Thick passages need longer than thin brushwork, and varnish manufacturers specify their own waiting periods.
Keep the painting in a clean, sheltered place with gentle ventilation. Leave its painted face uncovered rather than allowing plastic or fabric to touch it. If you pause overnight, protect your workspace from dust without enclosing a damp painting against another surface.
Fix common beginner problems
Most early problems are easier to prevent than repair. Thin, controlled layers and a properly prepared surface give you a more reliable foundation.
| Problem | Likely cause | What to try |
|---|---|---|
| Patchy coverage | Transparent colour, uneven application or an absorbent surface | Let it dry, then add an even coat or a more opaque mixture |
| Paint lifting during brushing | The underlying layer is not dry enough | Stop brushing and allow more drying time |
| Cracks in the paint | Overly thick application, unsuitable mixtures or drying stress | Use thinner layers and follow medium instructions |
| Peeling from the surface | Dust, grease or an unsuitable ground | Check surface preparation before continuing |
| Muddy colours | Too many mixtures or a dirty brush | Clean the brush and remix with fewer colours |
| Rough, torn-looking strokes | Repeated brushing over partially dried paint | Let the area dry before repainting |
If paint repeatedly peels, adding more colour will not fix the underlying adhesion problem. Stop and investigate the surface. For a first practice piece, beginning again on a properly prepared canvas may be more useful than attempting a complicated repair.
Protect the painting and clean up responsibly
Varnish can provide a protective finishing layer and alter the surface sheen, but it is not a substitute for adequate drying. Choose a varnish intended for acrylic paintings and follow its instructions for drying time, ventilation, application and any isolation coat. Not every varnish system uses the same procedure.
Responsible cleanup is part of acrylic painting on canvas, not an afterthought. Wipe excess paint from brushes and palettes before washing them. Keep concentrated paint and paint sludge out of sinks, storm drains and outdoor ground.
Collect paint-laden rinse water rather than tipping it away. Let solids settle and follow your municipality's guidance for paint waste and remaining liquid. Settling does not remove every suspended particle or dissolved ingredient, so clearer-looking water is not automatically suitable for drain disposal.
Wash brushes with mild soap, reshape the bristles and dry them flat or with the bristles positioned so water does not collect in the ferrule. Do not leave brushes standing in rinse water for long periods.
Move to a larger canvas when your process feels comfortable
Large canvases require more than extra paint. They need a stable working position, room to step back and mixtures large enough to cover broad areas consistently. Practise your composition at a small scale first so you are not solving every problem on an expensive surface.
Once acrylic painting on canvas feels manageable, the Funbo Stretched 3D canvas 380 gms 90X90 cm offers a square format to consider for a larger project. A square composition needs its own planning rather than simply stretching a rectangular sketch.
The Back Stapled Stretched Canvases Custom Size Canvas 140 x 180 cm is a much larger option. Before choosing that scale, measure your workspace, access route and intended display area. Confirm surface preparation and other specifications on the product page rather than assuming all stretched canvases have identical finishes.
Frequently asked questions
Can I use acrylic paint directly on canvas? Yes, if the canvas is primed for acrylics. Prepare raw canvas with a suitable acrylic gesso first and follow its application instructions.
Do I need to wet the canvas before painting? No. A beginner can work on a dry, prepared surface. Wetting the whole canvas is unnecessary for this exercise and changes how the first layer behaves.
How much water should I add to acrylic paint? Start with very little and adjust to the paint's consistency. For substantial thinning or longer working time, use a compatible acrylic medium as directed rather than relying on heavy water dilution.
What is the easiest first subject? A simple seascape, a few geometric shapes or a single piece of fruit makes acrylic painting on canvas easier to practise. Choose a subject with clear shapes and limited detail.
Can I paint over a mistake? Usually, yes. Let it dry, cover it with an appropriate mixture and rebuild the area. Thick ridges may remain visible even after their colour is covered.
Start with one small, finished painting
Choose a manageable canvas and buy only the colours and brushes your first project needs. Use Sandhai's product details to compare sizes and materials, then work through one complete painting before expanding your supplies. Preparation, patient layering and a clean brush will matter more than a crowded art trolley.

Comments