

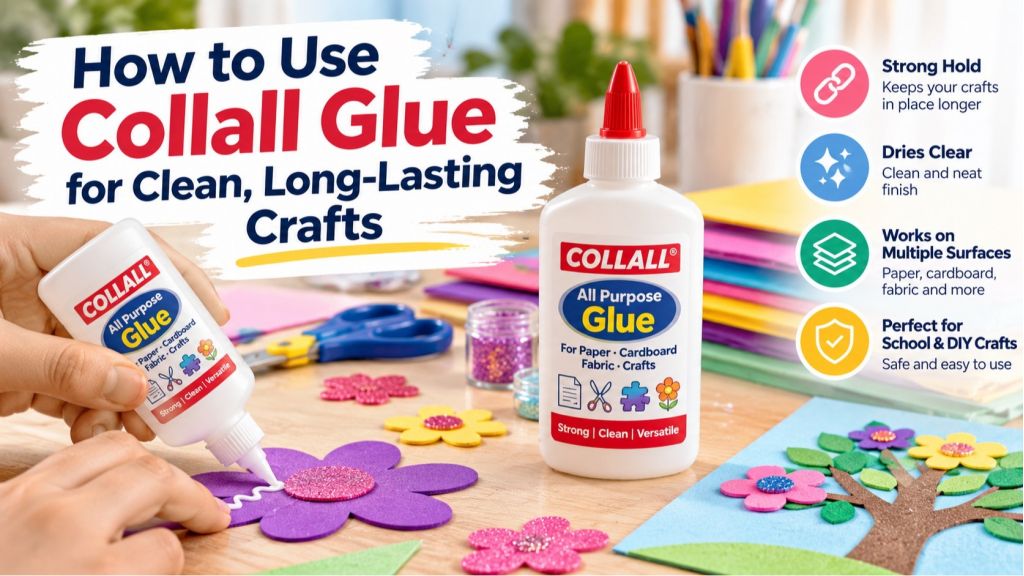
Clean, durable craft work rarely comes from using more adhesive. It comes from choosing the right glue, applying it neatly, and letting it dry without rushing. If you have just bought collall glue for paper crafts, school projects, scrapbooks, or handmade cards, the best results start with a thin, controlled layer, firm pressure, and a little patience.
Because craft adhesives can look similar on the shelf, it helps to understand what each one does well before you start. A glue that is perfect for layered cardstock may not be ideal for fabric hems, glossy plastic, or heavy embellishments. This guide focuses on practical, mess-free use so your finished pieces stay flat, clean, and long-lasting.
 Start With the Right Adhesive Choice
Most craft glue problems begin before the cap is opened. Paper, cardboard, chipboard and many porous craft materials absorb adhesive differently, so the surface you are bonding should guide your choice. A general craft glue is often useful for everyday creative work, but delicate paper, fabric and dimensional decorations may need a more specific product.
For most paper and light-card projects, collall glue gives the cleanest results when you use it sparingly and test it on scrap material first. If you are working on classroom posters or everyday school crafts and want to compare a familiar white adhesive, Fevicol 200g White Glue School Adhesive MultiPurpose Glue is also relevant for general-purpose sticking tasks.
For quick paper-only work, especially when children are making worksheets, labels or notebook decorations, a stick format can be easier to control. A compact option such as the UHU Paper Glue Stick 21g may suit simple paper bonding where you want less liquid and faster handling. If you need a larger stick for repeated school or office use, the Funbo Glue Stick 40g is another paper-friendly option to consider.
| Craft material | What to check before gluing | Clean application tip |
|---|---|---|
| Thin paper | Warping, staining and show-through | Use a very light layer and press under a clean sheet |
| Cardstock | Edge lifting and drying time | Apply glue close to corners, not only in the centre |
| Scrapbook pages | Photo safety and paper finish | Test first if the project must be archival |
| Fabric trims | Flexibility after drying | Use a fabric-specific adhesive when the fabric will bend or wash |
| Beads or raised details | Weight and grip | Let flat layers dry before adding heavy embellishments |
Fabric deserves special attention because it moves, bends and may be washed. If your project includes cloth, ribbons or fabric patches, a specialist choice such as Fevicryl Fabric Glue 80ml is more relevant than a standard paper adhesive.
Prepare the Surface Before You Apply Glue
Good preparation prevents most visible glue marks. Start by checking that your paper or craft surface is dry, dust-free and flat. If you are reusing cardboard or packaging, wipe away powdery dust and remove any loose fibres that could weaken the bond. For glossy surfaces, test first because smooth coatings can resist adhesion.
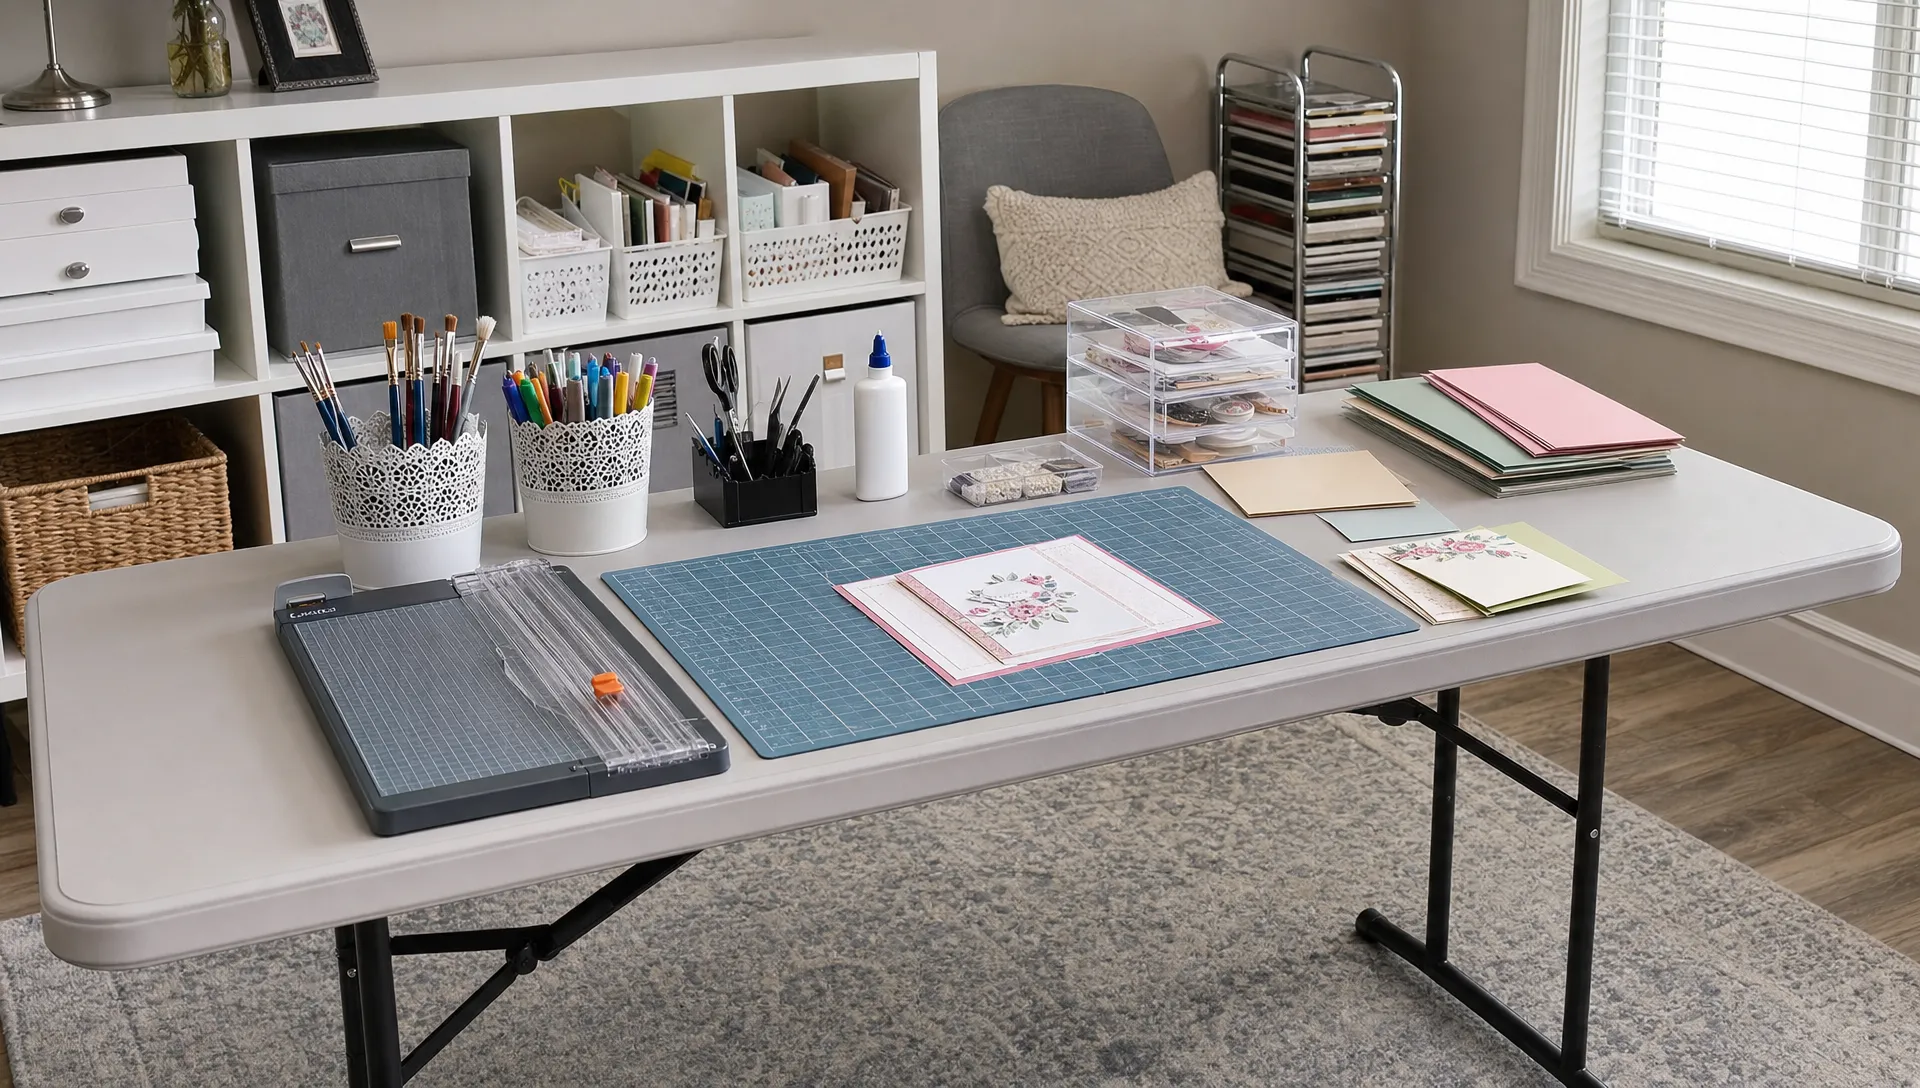
Place a scrap sheet or craft mat under your project before applying adhesive. This protects your table and gives you a clean area to move pieces around. Keep a damp cloth or tissue nearby for water-based glue, but always check the label on your specific bottle because not every craft adhesive cleans up the same way.
Cut, fold and position everything before gluing. Dry-fitting the pieces helps you see where adhesive is needed and where it is not. It also prevents the common mistake of sliding wet pieces around, which can leave shiny smears and softened paper edges.
Apply a Thin, Even Layer
A common mistake with collall glue is squeezing out a thick line and hoping the extra amount will make the craft stronger. In paper crafts, too much liquid often causes bubbling, curling and visible seepage. Strength usually comes from full contact between surfaces, not from a raised bead of glue.
Use a nozzle, brush, cotton bud or small spatula depending on the size of the area. For small embellishments, a dot is usually enough. For larger paper panels, spread a thin layer toward the edges so the corners do not lift later. If glue squeezes out after pressing, you probably used more than needed.
Follow this simple application flow for neat results:
- Test on scraps first: Use the same paper or material from your project so you can check drying marks, warping and bond strength.
- Apply less than you think you need: Start with a thin coat, then add a little more only if the surface is not covered.
- Spread evenly: Avoid thick blobs because they dry slower and can create raised spots.
- Align before pressing: Once pressure is applied, try not to slide the pieces around.
- Wipe fresh excess carefully: Use a clean edge of tissue or cloth and avoid rubbing wet paper.
- Press flat: Place clean paper over the project and add a light book or flat weight if the materials can handle pressure.
- Let it rest: Do not bend, hang or decorate the piece further until the bond has had time to set.
Drying and Pressing for Long-Lasting Results
Drying time depends on the formula, the amount used, the material, and the room conditions. In air-conditioned UAE homes, the surface may feel dry quite quickly, but thicker glue lines can remain soft underneath. If you are making cards, scrapbooks or layered paper decorations, give the piece more time than you think it needs before trimming or adding weight on top.
Pressing matters because it keeps the glued surfaces in full contact while moisture leaves the bond. For flat paper crafts, cover the project with baking paper or a clean sheet, then place a flat book on top. Avoid using printed newspaper directly on damp glue because ink can transfer.
If you are layering several pieces, build in stages. Let the base layer dry before adding ribbons, beads or decorative paint. For raised accents after the glue work is finished, a product such as Liquid Pearls Marigold can add dimensional pearlescent detail without forcing you to overload the main adhesive layer.
Troubleshooting Glue Marks, Warping and Weak Corners
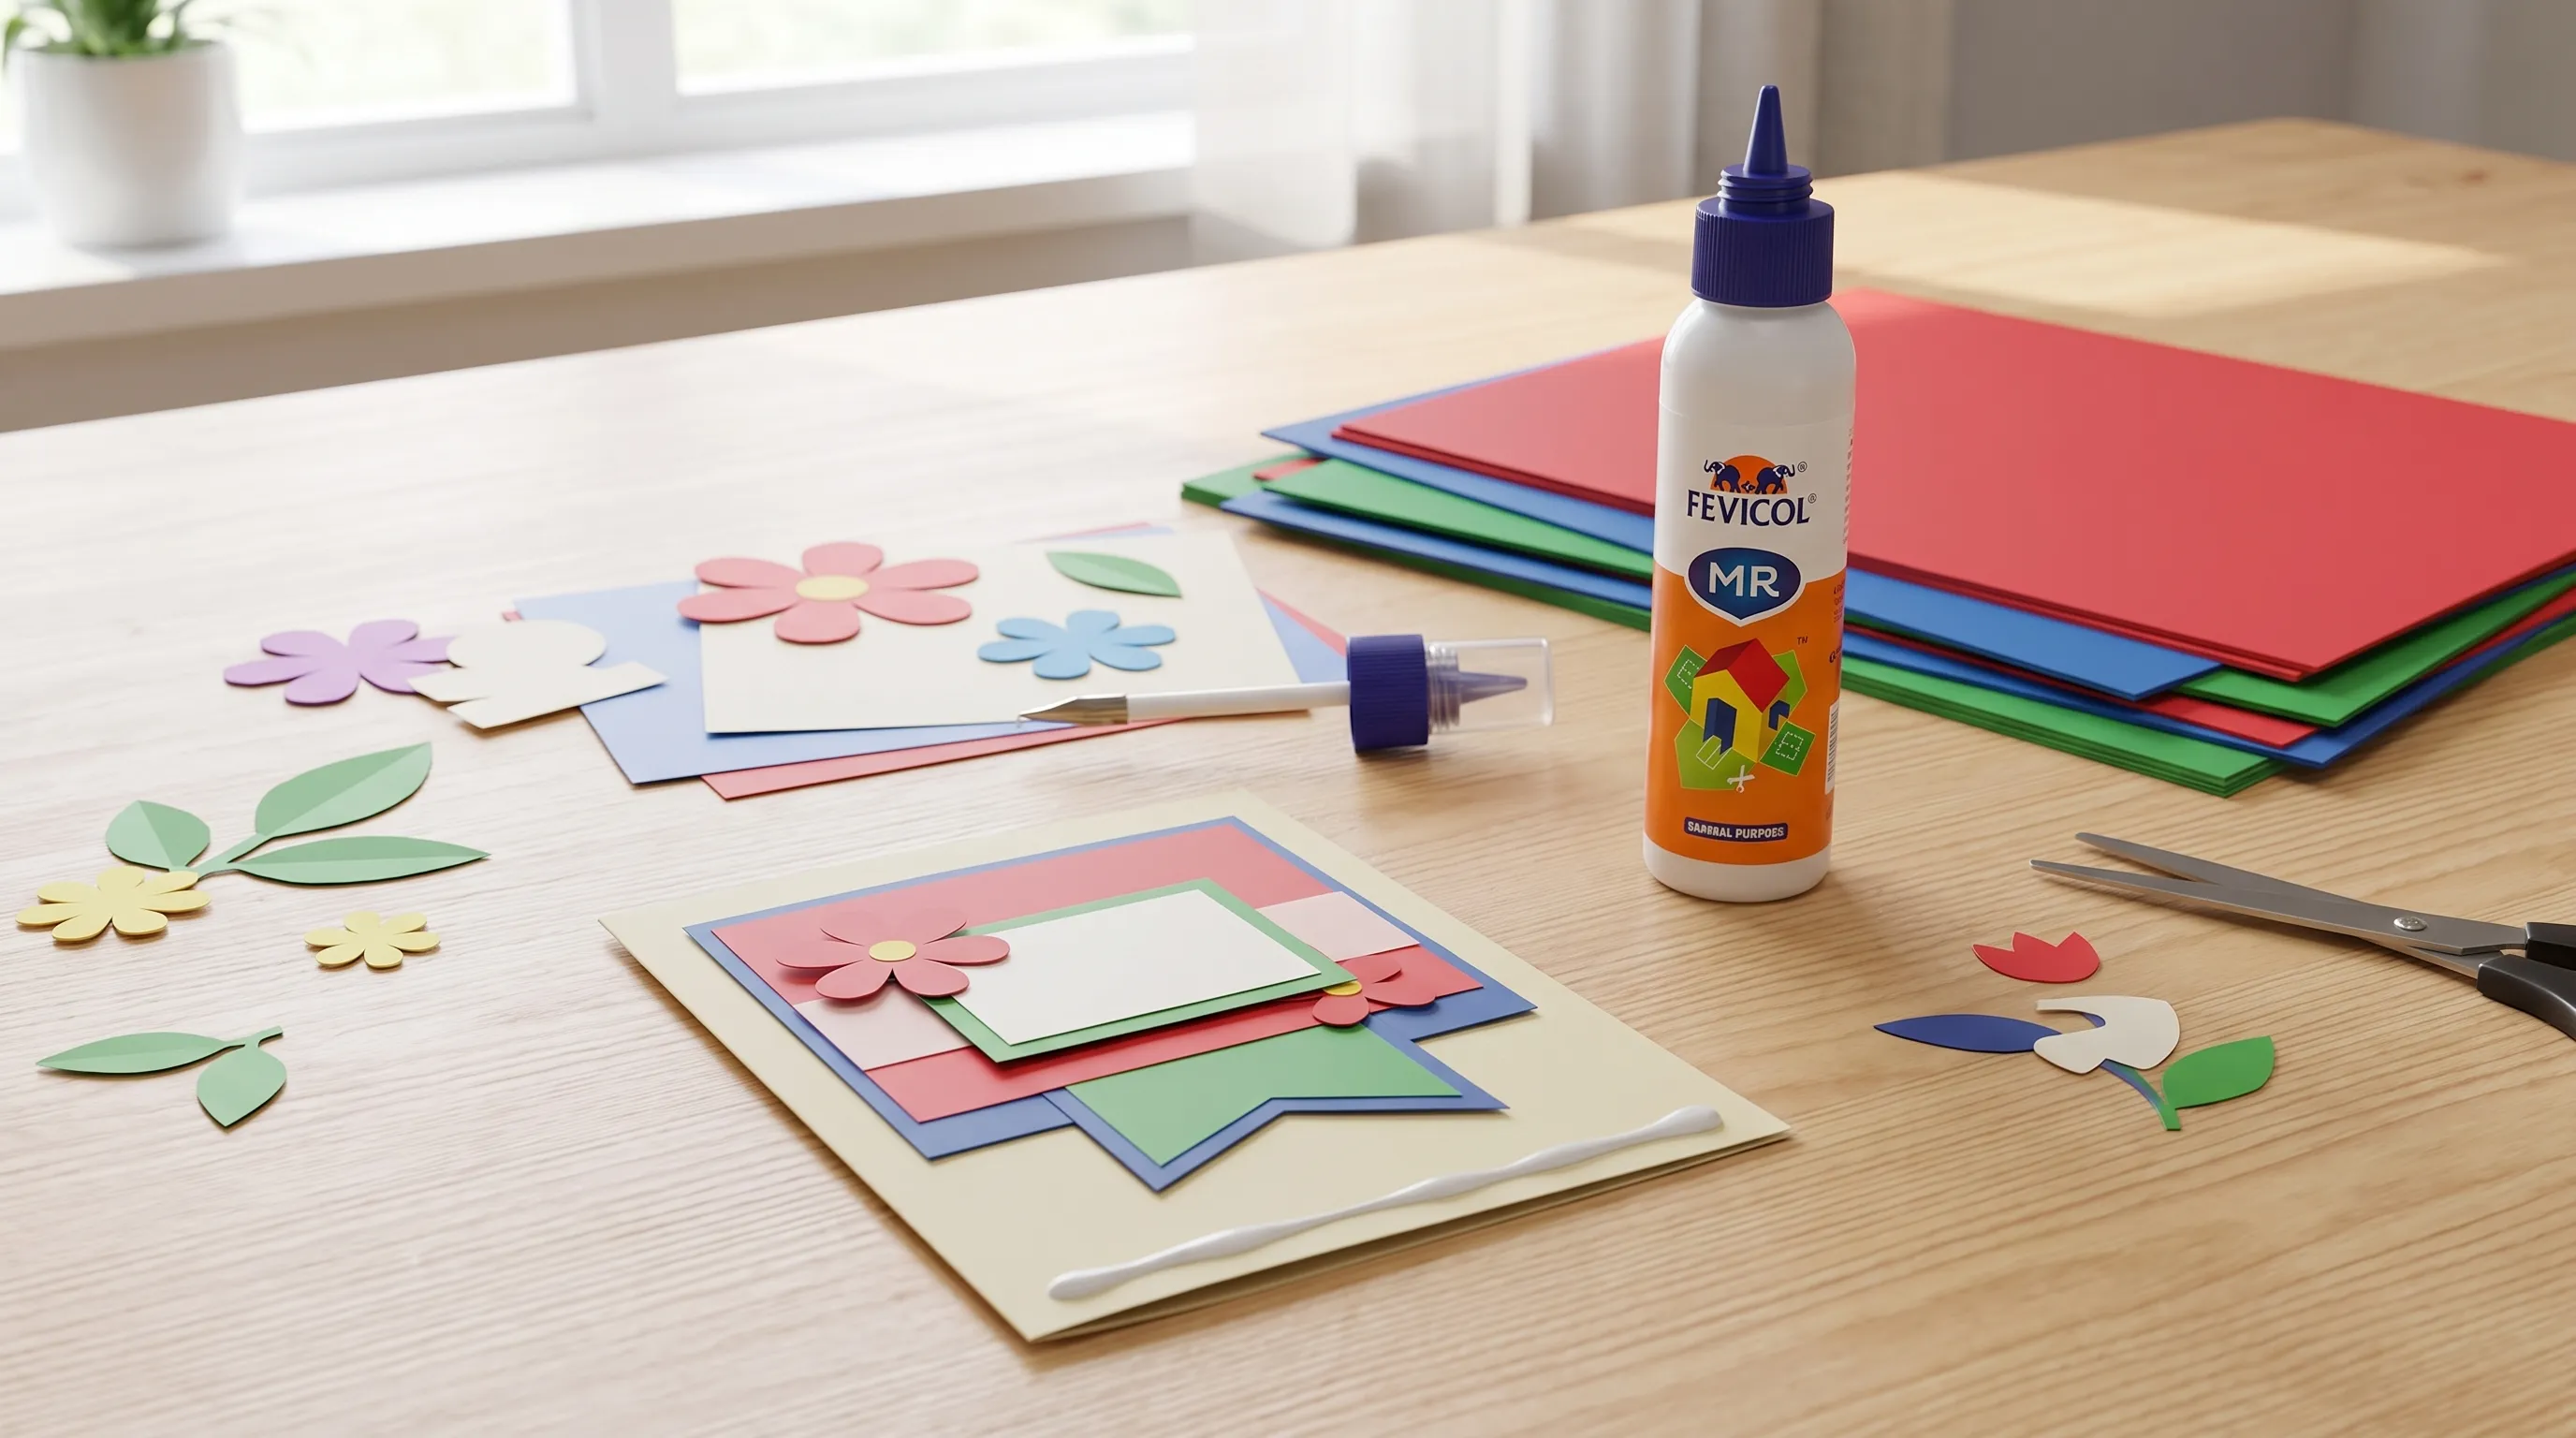
Glue marks usually happen when adhesive reaches the visible side of the craft. If the glue is still wet and the material can tolerate moisture, lift it gently with the corner of a clean tissue. Do not scrub thin paper because the surface can pill or tear. If it has already dried, it is often better to disguise the mark with a planned embellishment than to scrape it.
Warping is caused by uneven moisture. Thin paper curls when one side absorbs more liquid than the other. To reduce this, use less adhesive, spread it evenly and press the project flat while it dries. For very delicate paper, consider a glue stick rather than a liquid adhesive.
Weak corners are usually a coverage issue. Many crafters apply glue in the centre and forget the edges. Add a small amount near corners, then press firmly. If corners lift after drying, use a toothpick to place a tiny amount underneath, press again and let it set fully.
When collall glue Is Not the Best Option
No single adhesive is perfect for every craft. If your project is made only from basic paper and needs to be handled immediately, a glue stick can be cleaner and simpler. If the project includes fabric that will flex, a fabric glue is usually the better match. If you are attaching heavy objects, glossy plastic or metal pieces, check the adhesive label carefully and choose a product designed for that surface.
This is especially important for gifts, school displays and handmade decorations that need to survive transport. A beautiful project can fail if the adhesive does not match the material. When in doubt, run a small test and leave it overnight before committing to the final piece.
Storage and Safety Tips for UAE Homes
In warm UAE homes, collall glue lasts longer when the cap is sealed tightly and the bottle is stored away from direct sunlight, balcony heat and parked cars. Heat can change the texture of many adhesives, making them thicker, stringier or harder to control. A cool cupboard is usually a better choice than a craft trolley near a window.
Keep craft adhesives away from very young children unless an adult is supervising. Always follow the packaging instructions for ventilation, age suitability and clean-up. If a glue has a strong smell or says it contains solvents, use it in a well-ventilated area and avoid using it near food preparation spaces.
Before storing, wipe the nozzle so dried glue does not block the opening. Store bottles upright when possible. If the cap is clogged later, do not squeeze hard over your project because the blockage can suddenly release and flood the paper.
Quick Checklist Before You Start
Before you begin your next card, model, scrapbook page or school project, do a quick check. Is the surface clean and dry? Have you tested on a scrap piece? Are you using a thin enough layer? Can the project lie flat while drying? These small habits make the difference between a rushed craft and one that still looks neat weeks later.
The cleanest results come from restraint. Use the right adhesive, apply only what the material needs and allow enough drying time. That approach gives your craft a better finish than simply adding more glue.
Frequently Asked Questions
Can I use collall glue on thin paper? Yes, but use a very thin layer and test first. Thin paper can wrinkle if it absorbs too much liquid, so pressing it flat while it dries is important.
How do I stop glue from showing on my craft project? Apply less adhesive, spread it evenly and keep it away from visible edges. If glue squeezes out when you press the pieces together, you are likely using too much.
Is a glue stick better than liquid craft glue? For simple paper tasks, a glue stick can be cleaner and faster. Liquid glue is often better when you need stronger edge coverage or are bonding thicker craft materials.
Can I use the same glue for paper and fabric? Not always. Paper adhesives may dry too stiff or weak on fabric. For fabric trims, patches or flexible textile crafts, use a fabric-specific glue.
How long should I wait before handling a glued craft? Follow the product label first. As a practical habit, let flat paper projects rest under light pressure until they feel fully dry, then wait longer before bending, hanging or gifting them.
Shop Craft Adhesives for Your Next Project
Whether you are preparing school supplies, paper craft materials or handmade gift projects, Sandhai brings together useful stationery and craft essentials for online shoppers in the UAE. Choose your adhesive based on the material, then build your project slowly for a cleaner, longer-lasting finish.

Comments