


A conical flask is one of the most useful pieces of lab glassware for school projects, basic chemistry practice and safe home experiments. Its wide base keeps it stable, while its narrow neck helps reduce splashes when you swirl liquids. That shape makes it ideal for mixing, heating, temporary storage and simple reactions, provided you choose the right size, material and accessories for the task.
If you are buying labware online, it helps to know what matters before you add anything to your cart. A flask that is too small can overflow, a poorly made one can crack under heat and a flask with unclear markings can make basic measuring frustrating. The guide below explains how to compare options confidently, especially if you are shopping for school supplies or a simple home science setup.
 How to Choose a Conical Flask for the Experiment You Plan to Do
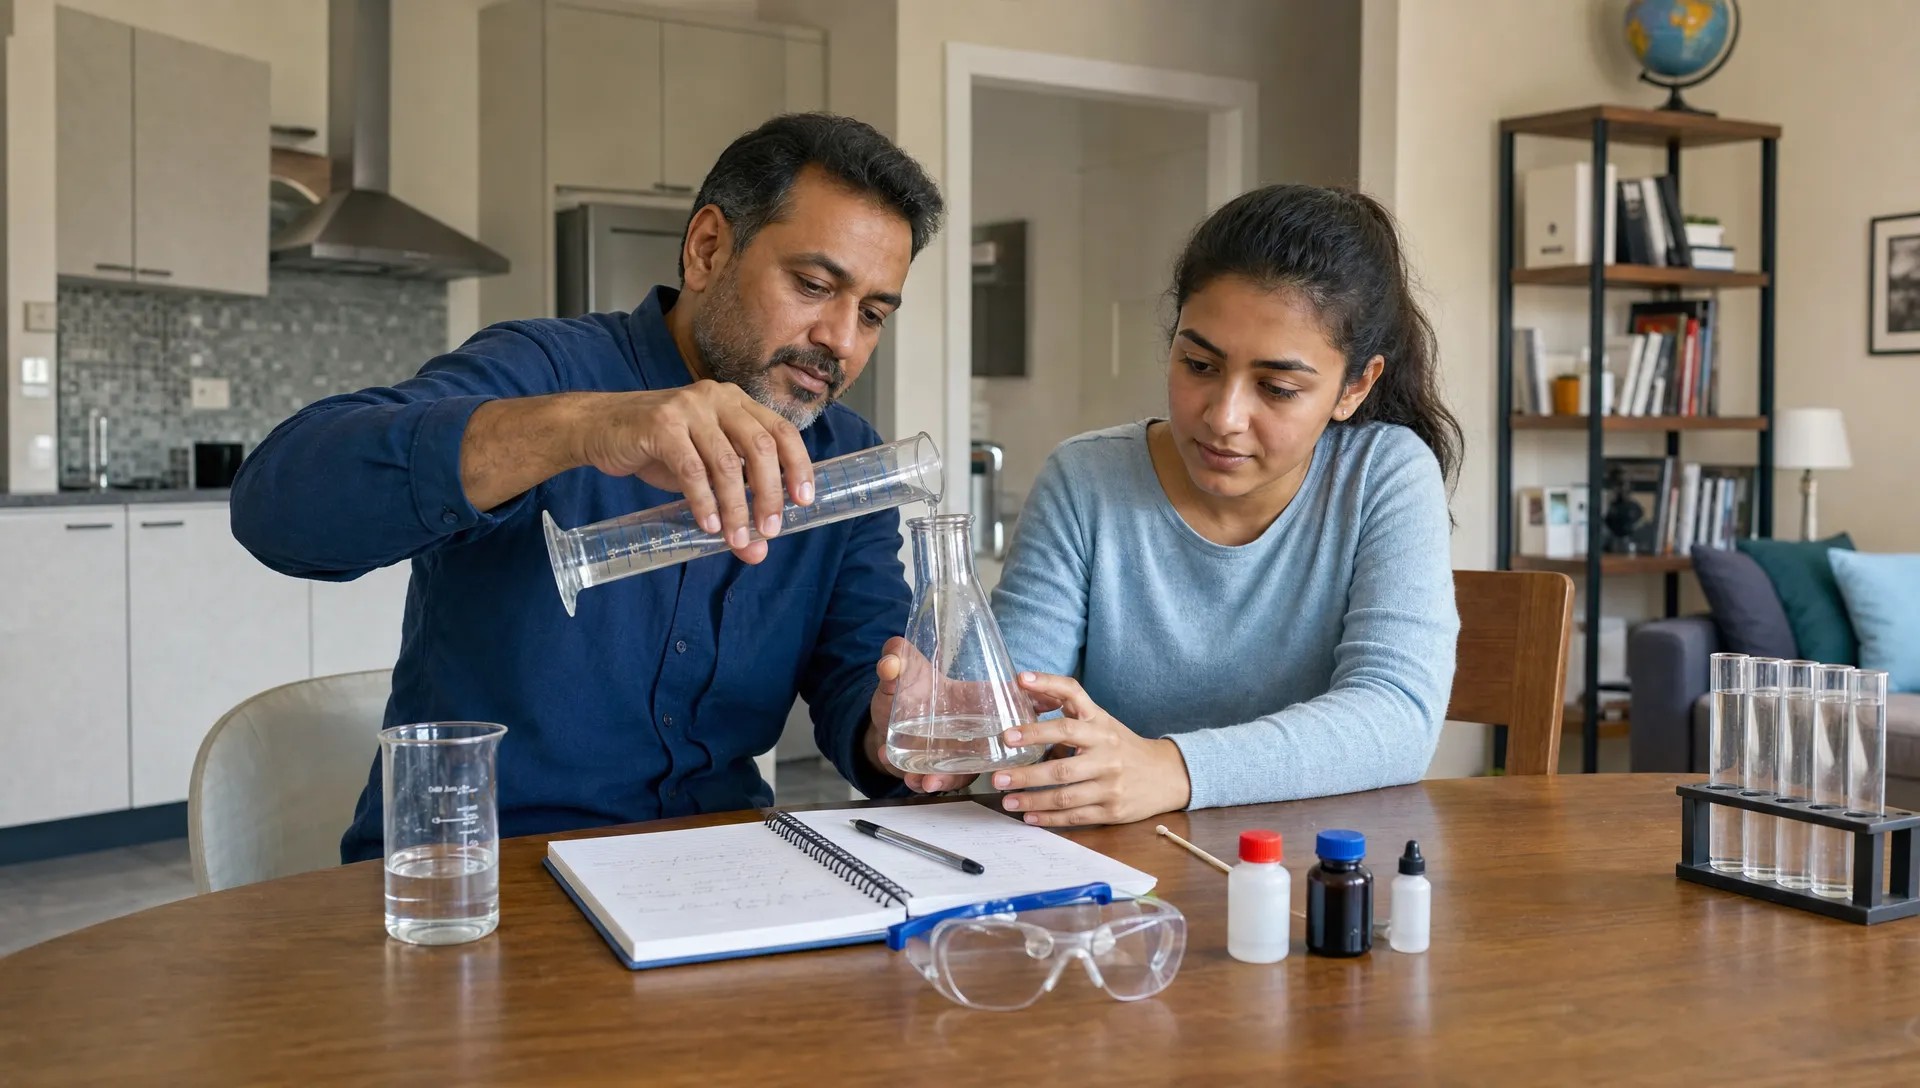
Start with the experiment, not the price. For most school tasks, a conical flask is best when the activity involves swirling, mixing or heating a liquid without needing highly precise volume measurement inside the flask itself. It works well for dissolving salts, preparing simple solutions, observing reactions and carrying out beginner titration demonstrations.
A beaker is usually easier when you need to pour powders, stir large mixtures or heat a broader surface area. If your experiment needs accurate measurement, use a measuring cylinder first, then transfer the liquid into the flask. For example, a 100ml measuring cylinder is useful for smaller volumes, while a 500ml graduated cylinder suits larger classroom or home lab preparations.
The key point is simple: a flask is excellent for handling and mixing liquids, but it is not a replacement for proper measuring equipment.
Pick the Right Material: Borosilicate Glass, Regular Glass or Plastic
Material choice affects safety, durability and where you can use the flask. The safest conical flask for school or home science is usually made from borosilicate glass, especially if the activity involves warm liquids, mild heating or temperature changes. Borosilicate glass is preferred in labs because it handles thermal stress better than ordinary soda-lime glass.
Regular glass may be acceptable for display, room-temperature liquids or very basic demonstrations, but it should not be your first choice for heating. Plastic flasks are lightweight and less likely to shatter, yet they are not suitable for direct heat and may react with some substances. For children or younger students, plastic can be useful for non-chemical activities, but adult supervision is still needed.
Use this quick comparison when shopping:
| Material | Best for | Avoid using for |
|---|---|---|
| Borosilicate glass | Heating, mixing, school chemistry, repeated use | Rough handling or sudden impact |
| Soda-lime glass | Display, room-temperature observation | Heating or rapid temperature changes |
| Plastic | Younger students, non-heated liquids, demonstrations | Flames, hot plates, solvents and strong chemicals |
If you also need a vessel for larger heated mixtures, a 1000ml borosilicate glass beaker can complement your flask setup well.
Choose a Size That Gives Liquids Room to Move
Flask size is one of the easiest details to get wrong. A 250 ml conical flask is a practical all-round choice for many school experiments because it is large enough for common liquid volumes but not so large that small samples disappear at the bottom. For very small reactions, 50 ml or 100 ml may be easier to handle. For larger preparations, 500 ml or 1000 ml may be necessary.
As a rule, do not fill a flask to the top. Leave enough empty space so you can swirl safely without spilling. A good working volume is often around one-third to two-thirds of the total capacity, depending on the liquid and activity. If foam, gas or bubbling is expected, use an even larger flask.
| Flask capacity | Practical use | Typical user |
|---|---|---|
| 50 ml to 100 ml | Small reactions, demonstrations, sample preparation | Students, hobby learners |
| 250 ml | General school experiments, solution mixing, titration practice | Most classrooms and home labs |
| 500 ml | Larger mixtures, repeated demonstrations, group work | Teachers, older students |
| 1000 ml | Bulk preparation, larger liquid handling | Advanced school labs, supervised use |
Bigger is not always better. A large flask can be harder to heat evenly, store safely and handle with small hands.
Check the Markings, Neck and Base Before Buying
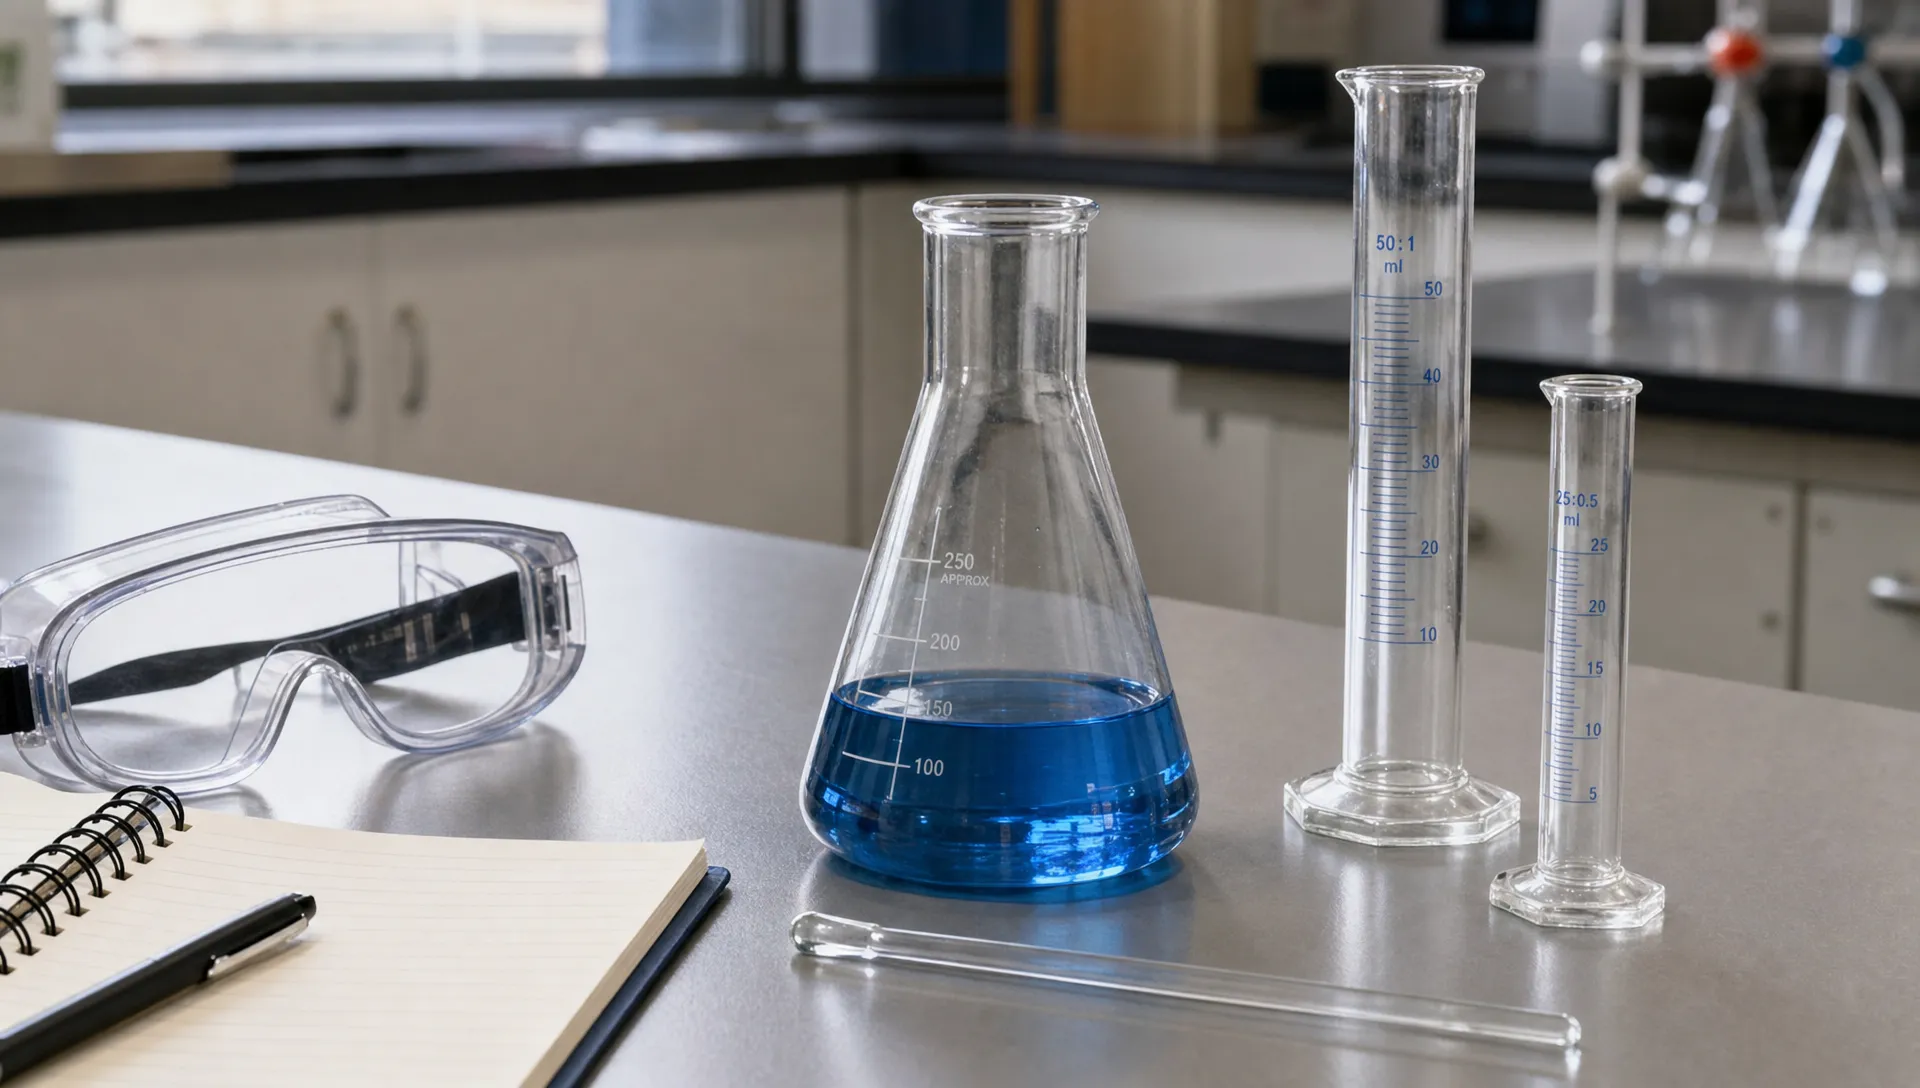
Many flasks have printed graduations, but those markings are usually approximate. Your conical flask may show 50 ml, 100 ml or 250 ml lines, but these are mainly for quick reference, not precision measurement. If exact volume matters, measure separately with a cylinder and use the flask for mixing.
The neck should be smooth and even, without chips or sharp edges. A narrow neck reduces splashing and supports swirling, but it can be harder to clean if powders dry inside. A wider neck is easier for adding solids, yet it may not work with standard stoppers. If you plan to use a stopper, check that the neck size matches the stopper or bung recommended by your school manual.
Also look at the base. A flat, stable base is essential for home use because kitchen counters and study tables are not always as level as lab benches. Avoid glassware with visible bubbles, uneven thickness or cloudy patches if you expect to heat it or use it often.
Think About Heating and Chemical Compatibility
Not every experiment requires heat, but you should still buy with future use in mind. Your conical flask should not be placed directly over a flame unless the experiment instructions, material rating and supervision all support it. Even borosilicate glass can crack if heated unevenly, placed on a cold surface while hot or exposed to sudden temperature shock.
For school and home activities, use mild heating methods only when they are part of a supervised procedure. Never seal a flask while heating liquid, since pressure can build up. Do not use unknown household chemicals together, and avoid strong acids, strong alkalis or solvents unless a qualified teacher or lab supervisor has approved the setup.
A simple safety habit is to treat every piece of lab glassware as dedicated science equipment. Do not return it to kitchen use after it has held chemicals, dyes, cleaning agents or experimental mixtures. Even if it looks clean, residues can remain.
Match the Flask With the Right Accessories
A flask becomes more useful when paired with basic accessories. A conical flask is often used with measuring cylinders, stirrers, funnels, droppers, stoppers, labels and safety glasses. You do not need a large laboratory to run simple experiments, but you do need tools that make the process cleaner and safer.
For stirring, choose a rod that fits the flask and the depth of the liquid. A 7mm x 200mm stirring rod is convenient for smaller glassware, while a 7mm x 400mm glass stirring rod is better for taller vessels or larger batches. Stirring rods help you mix without scraping the glass too aggressively.
You may also want these items in a starter kit:
- Safety goggles for eye protection during mixing or pouring
- Labels or masking tape to mark contents clearly
- A small funnel to reduce spills when transferring liquids
- A tray to contain drips and protect the table surface
- A notebook for recording measurements, observations and results
When you build your kit gradually, it is easier to buy only what you will use instead of collecting random equipment.
Safety Features Parents and Students Should Prioritize
For home use, safety matters more than having advanced equipment. Choose glassware with a clear capacity label, a stable base and smooth edges. If younger students are involved, an adult should handle heating, chemicals and cleanup. Students can still observe, record data and help with safe steps such as measuring water or labeling containers.
Keep experiments away from food preparation areas when possible. Work on a washable surface, tie back long hair and avoid loose sleeves. If a flask cracks, chips or becomes cloudy from chemical damage, stop using it. Damaged glassware can fail suddenly, especially when heated or swirled.
The American Chemical Society’s school chemistry safety resources are a useful reference for teachers, parents and students who want to understand safe habits before working with lab materials.
Cleaning and Storage Tips That Extend Flask Life
Clean the flask soon after use so residues do not dry inside the narrow neck. Warm water and a mild detergent are enough for many school-safe mixtures. Use a suitable bottle brush for stubborn marks, but avoid metal tools that can scratch the glass. Rinse thoroughly and let the flask air-dry upside down on a clean rack or towel.
Store glassware where it cannot roll, fall or knock against heavier items. Do not stack flasks tightly unless they are designed for it. If you have several sizes, keep them separated with soft padding or store them upright on a stable shelf.
A well-kept flask lasts longer and gives more reliable results. It also keeps your home experiment space neat, which makes it easier to follow instructions and spot problems early.
A Simple Buying Checklist for Online Shoppers
Before placing an order, compare the product description carefully. Photos can be helpful, but the specifications tell you more. Check capacity, material, heat resistance information, graduation marks and whether the flask is sold individually or as part of a set.
Use this checklist before checkout:
- Capacity matches the experiments you plan to do
- Borosilicate glass is listed if heating is expected
- Graduation markings are clear enough for reference
- Neck size suits any stopper or funnel you may use
- Base appears flat and stable
- Seller information, delivery options and return details are easy to review
On Sandhai, you can compare related lab tools, home essentials and school supplies in one place. That is especially useful if you are preparing for a class project, building a small learning kit or replacing broken equipment without visiting multiple stores.
Frequently Asked Questions
What size conical flask is best for school experiments? A 250 ml flask is the most versatile choice for many school experiments. It offers enough space for swirling and mixing without being too large for students to handle comfortably.
Can I heat a conical flask at home? Only heat it if it is made from suitable borosilicate glass and the experiment instructions allow heating. Avoid direct flame unless supervised by a qualified adult or teacher, and never heat a sealed flask.
Is a conical flask accurate for measuring liquids? It can show approximate volumes, but it is not the best tool for accurate measurement. Use a measuring cylinder first, then transfer the liquid into the flask for mixing or reaction work.
What is the difference between a beaker and a conical flask? A beaker has a wide opening, which makes it easy to add solids and stir. A flask has a narrow neck and sloped sides, which makes it better for swirling liquids with fewer splashes.
Can children use lab glassware for home science projects? Yes, but only with adult supervision. For younger children, start with non-heated activities and safer materials such as water, food coloring or approved school experiment kits.
Shop Smarter for School and Home Science Supplies
Choosing the right conical flask is easier when you think about the experiment, material, size and safety features first. Pair it with proper measuring tools, a suitable stirring rod and basic protective gear so each activity runs smoothly.
If you are preparing for a school project or setting up a simple home learning space, explore Sandhai.ae for lab accessories, stationery, home essentials and other everyday supplies with convenient UAE shopping options.

Comments